For quick contact: +90 532 288 2200


Tie the physical master, the photographs and the accepted visual limits to a single approval record.
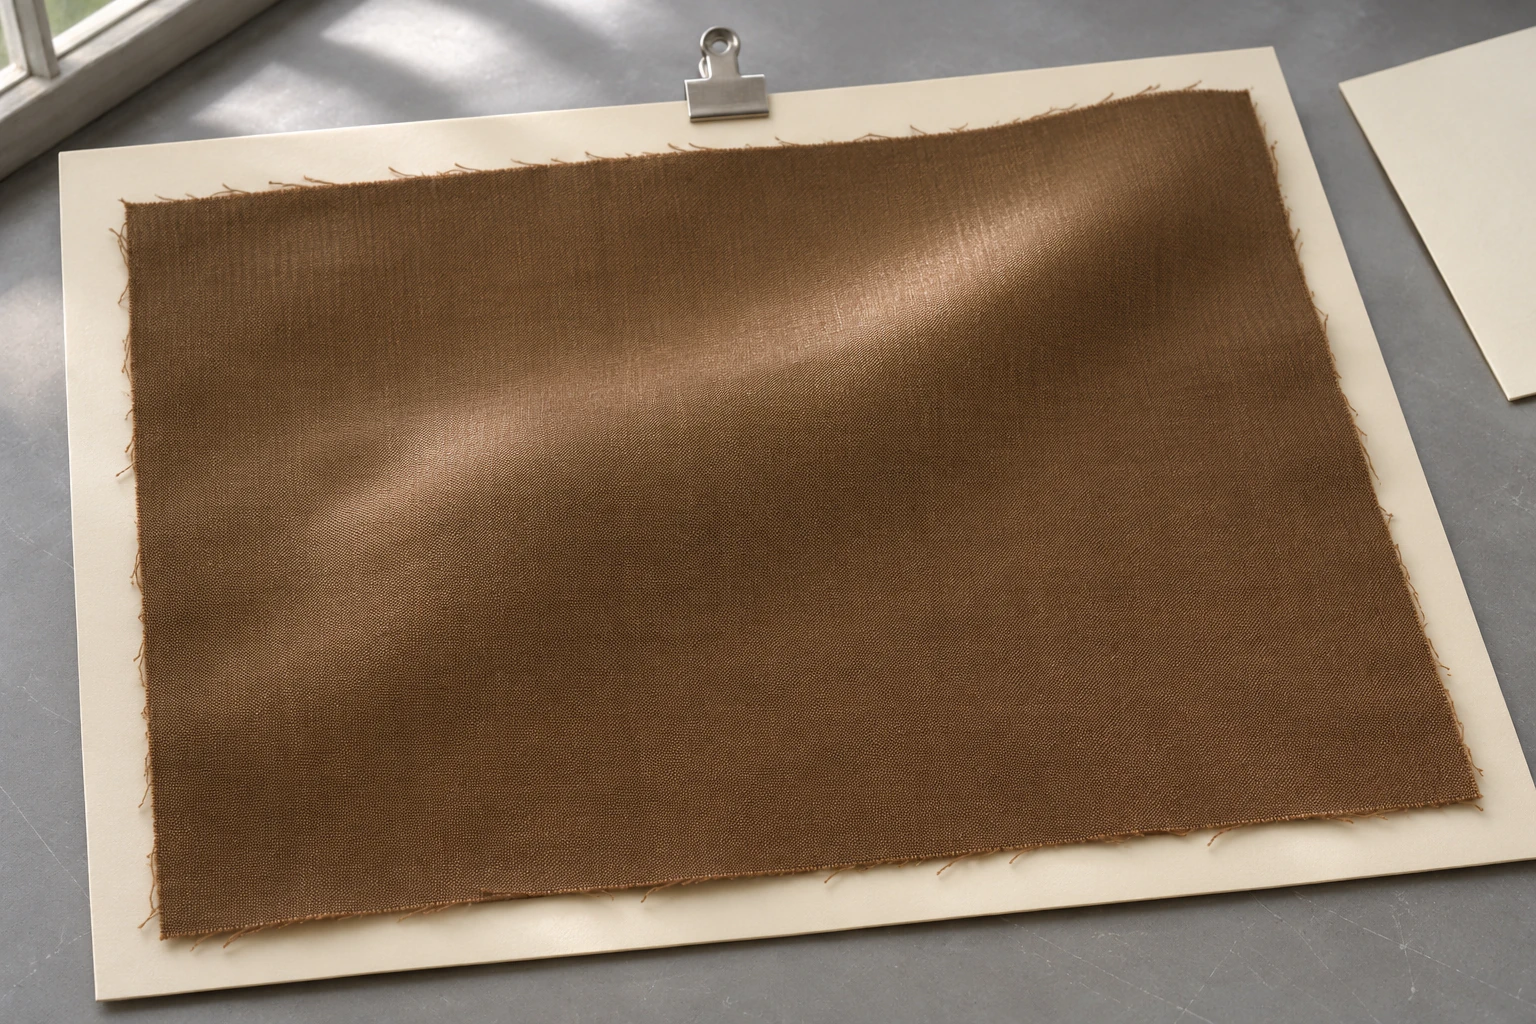
Approve the gloss of a lacquered fabric against a physical master and write down what can vary around it. Keep the master card, photographs and limit samples under the same approval reference. The physical piece lets each team see how the reflection travels across the actual weave. The photographs show where the team looked and how it set up the comparison. The limits tell the next person when a production sample needs to be held for review. A usable record joins all three to a named fabric face, a direction and a revision.
Suppose a product team selects a fine tobacco-brown woven fabric with a quiet bronze cast for a jacket. In diffuse light it looks restrained. When turned toward a lamp, a broad highlight moves over the yarns. Another cutting from the supplier looks stronger and has been photographed on a brighter table. A buyer receiving only the two files cannot tell from the brightest patch whether the difference belongs to the finish or to the lighting. The buyer needs to know which physical cutting was approved, where to look and what the two pieces look like in the same setup.
Choose a piece large enough to show the surface away from the cut edge and any clip. Use a sufficiently large piece if the approval takes a gentle curve into account. On a tiny cutting the edge shadow can take up most of the frame, and the pressure from a fastener may change the surface you want to assess. Put the directional arrow on the card. Identify the face and the inspection area on the card or the reverse of the cloth. Keep adhesive, staples and marks clear of that area. Retain enough unmarked cloth to repeat the original viewing position without moving a mounting point.
Give the card a stable identifier and add the date, cloth description, shade and approved revision. The tobacco-brown example might use the broad central part of the cutting as its main inspection area. Add a second area if a narrow transition or a selectively coated motif also matters to the product. Record what to look for at each place. One area may be for the breadth of the reflection and another for the edge of a finish. If the cloth was taken from a known part of the width, identify that location too. A cutting from one edge can answer a local question while leaving the middle of the roll unexamined.
Prepare a matching card for the supplier. Compare the cuttings before shipment, ideally on the same backing and with the same face and direction showing. Adjacent pieces can still differ in appearance across the cloth. Write the revision on both cards and record who holds each copy. If one team has to mount its cutting differently, make a note about the resulting difference in support or curvature. When a replacement is approved, keep the earlier card identifiable as historical. An old approval may still be needed for a replenishment order tied to the previous revision.
Make the first photograph wide enough to show the entire card, the position of the cloth and the surrounding work surface. This is the photograph to consult when someone needs to locate the inspection area again. For the second view, lower the camera or bring it closer so that the body colour of the cloth and the light reflected by the weave can be read together. Leave a distinguishable edge in the detail if it helps locate the area on the sample. Avoid exposure that turns the highlight into a featureless white patch. Save the full frame along with any crop used in the approval record.
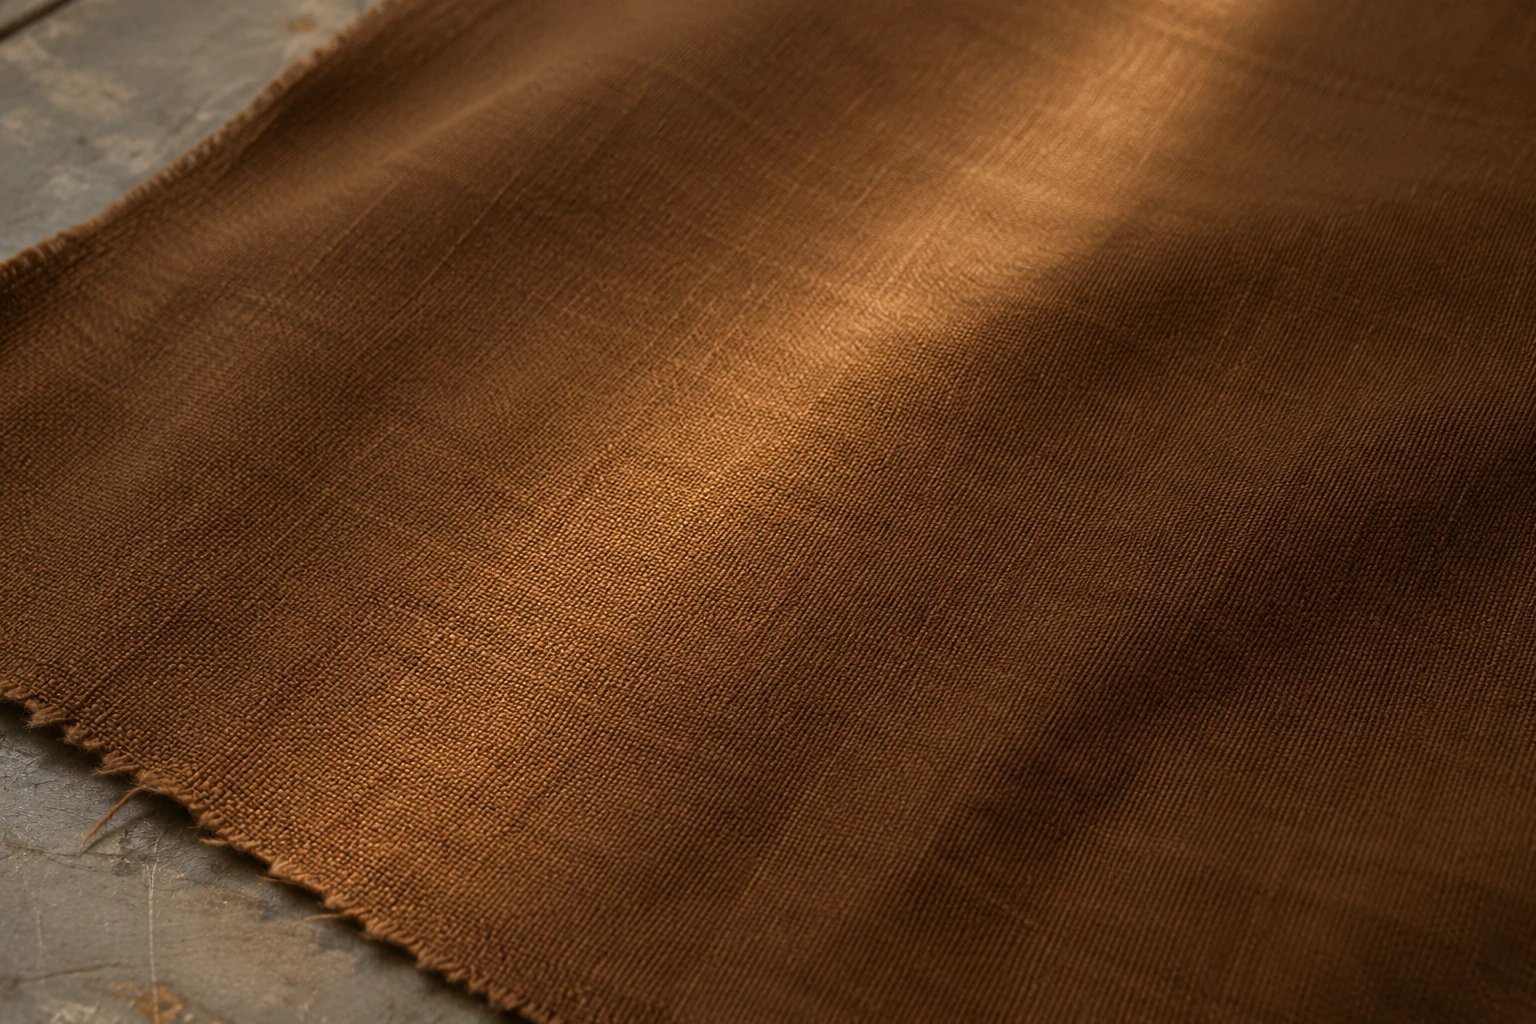
When possible, photograph the master and the candidate together in the same direction. Match the light source, camera position, angle, background and cloth support. A phone can apply different white balance or contrast to two successive images, especially if you fill the frame with the darker swatch first and with the pale worktop second. Keep the original frames and note the conditions. A brighter spot in a processed photograph is insufficient evidence for a numerical gloss value. Use the photograph to point to the spot and return to that area on the physical sample.
Give flat and curved views separate filenames. Write down how the curve was supported, which edge faced the light and where the highlight appeared. Say the master produces a broad band on a shallow curve. A new sample can look equally quiet when flat, then show a tighter line when placed over the same support. The two observations can both be accurate. If the garment has a curved panel next to a flat one, the comparison at the bend may belong in the acceptance record. If the order uses the fabric on a flat surface, retain the curved view as a separate observation and make the decision conditions explicit.
Start with a broad, diffuse light over a plain background. Look at the underlying shade and any widespread patchiness or changes across the cloth. Then introduce a light with a clear direction. Hold the pieces in the same plane as you turn them and watch where the reflection begins, how wide it is and how it fades. Describe the setup with enough detail for a second team to repeat it. Include the type and position of the light, the face and direction of the cloth, the backing and the position from which you looked. Note which setup governs approval and which was used to explore another viewing situation.
Do a simple position check when one side of the bench looks brighter. Swap the two pieces without reversing their directions. If the stronger appearance moves with the position on the bench, adjust the lighting. If it stays with the same swatch, mark where it was seen. The cut edge, centre and any change in coating coverage deserve separate observations if they look different. A narrow line at the edge can also be a shadow cast by a mounting card. Move that edge away from the clip, keep the cloth at the original angle and see whether the line remains.
You can also turn both pieces through the same sequence to find a directional difference in the cloth. Examine them with the lengthwise yarns pointing toward the light, then turn both equally. Record the turn or position at which the comparison changed. A second team can repeat that orientation even if it cannot reproduce your photographs exactly. It also helps to note the distribution of the reflection in words. A continuous soft band across the centre carries more information than a folder name that says “second sample brighter.” Describe the patch or line and how it behaves when you turn the cloth.
A master establishes the preferred appearance. If the project allows some variation around it, choose a weaker and a stronger example with as similar a shade, weave and construction as possible. Lay out the three with their directions aligned. Confirm explicitly which pieces represent acceptable extremes. Keep each agreed limit under its own identifier and connect it to the master revision. If the team has no suitable physical example for one end, record that gap. Refer borderline candidates back to a fresh side-by-side review.
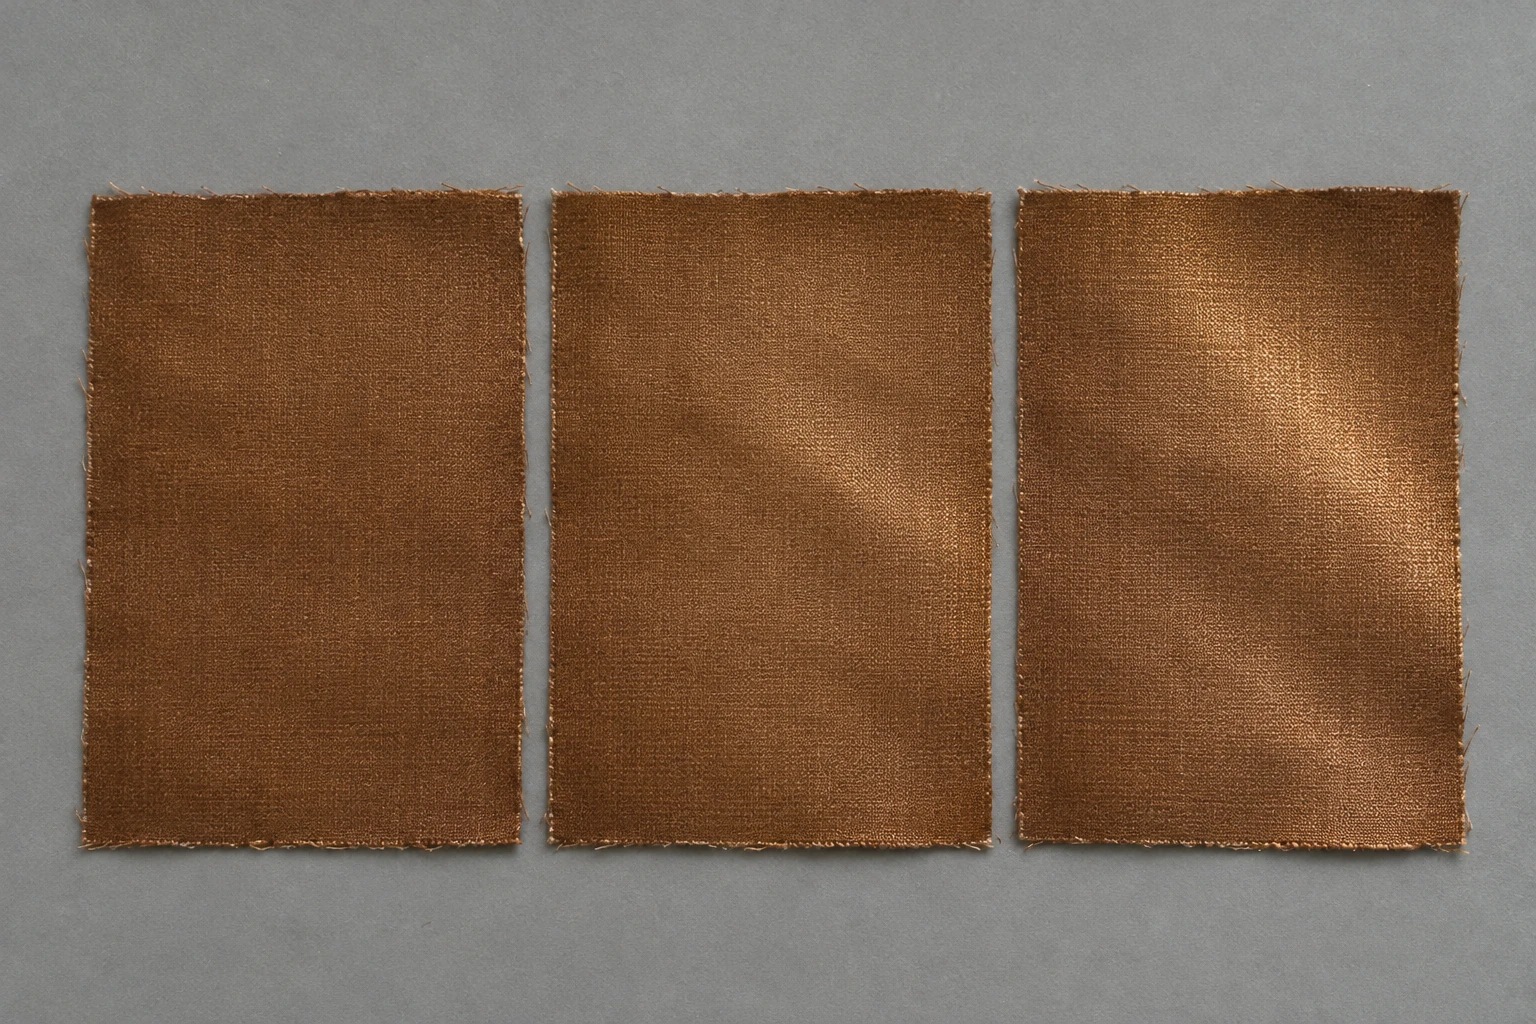
Review what belongs inside the range. A broad haze of light and a narrow hotspot can appear to have the same overall intensity from a distance. If the finish is meant to read as a soft sweep across a panel, the narrow line may need review even when the overall brightness seems tolerable. Write down the appearance feature that governs the decision. For example, you might accept a slightly fuller reflection across the middle of the chest panel while requesting a new sample if there is a continuous dull border next to a cutting line. Explain whether that decision concerns the assessed area, the full width or any particular panel of the garment.
When a borderline sample is disputed, ask each reviewer to mark the place responsible for the decision. One reviewer may be reading the full central area while another is reading a dark streak closer to the edge. Bring those observations back to the marked physical area, the support and the agreed lighting before deciding. If you approve a piece conditional on how the panels will be cut, communicate that condition to the cutting team. Record which roll or cutting it pertains to so a decision about one part of the cloth does not get inherited by the next delivery.
If both sides have agreed that the surface can be measured meaningfully, document the instrument setup and the method for reading a textile. Record the viewing geometry, specimen direction, backing, reading location, repeat procedure and how the results are summarised. A loose or curved sample changes the location presented to the instrument. Different angles can report different features of the same finish. Agree a tolerance for the particular material and appearance if the readings will be used to accept or reject deliveries. A number used routinely on a different surface supplies little information about how this cloth should look.
Decide what happens when the reading and the physical comparison point in different directions. A candidate might meet the instrument range but show a visible streak at the angle used for approval. You can ask for the piece to be held until the area has been examined next to the master. If the pieces look very close and a reading is outside the range, first check direction, backing and measurement location. Repeat the reading at the agreed points and return the information to whoever is authorised to make the decision. State whether measurement is a mandatory threshold or supporting evidence, so the rule stays stable between deliveries.
Keep one short decision record with the master and supplier copy identifiers, approval date and revision, cloth lot and position, approved face and direction, observation conditions and the photographs. Add the codes of any limit samples and write what each one controls. If the approval changed after fitting or a later observation, say exactly what changed. Attach the name or sign-off of the person who made the decision. A supplier receiving an image days after an approval call should be able to recover which card it refers to and who accepted the result.
At incoming inspection, identify where each cutting came from along and across the roll. Compare it against the current master with the original direction and backing. If two rolls will supply neighbouring garment panels, place the cuttings next to each other as those panels will sit. A modest distinction may be difficult to see on separated samples yet visible at a seam. Record which lots were paired for the decision and whether a restriction applies to part of a roll. Any request to cut a new specimen should identify the position and inspection conditions that will answer the open question.
Store the master and limit samples in clean protection, clear of pressure on the inspection face and away from surfaces that could leave marks. Before reusing an old master, check for damage, dust, a new crease or a change near its mount. Compare it with the other signed-off copy in the original setup if its appearance is in doubt. Keep the older photographs attached to the relevant revision if a new master is chosen. Starting with the correct physical copy, the inspection notes and the matched photographs lets a new reviewer work through the same comparison and explain which appearance the next lot needs to achieve.
phone: +90 212 576 5250
fax: +90 212 493 0336
email: info@unlutransfer.com
Yenidoğan Mah. Eser Sok. No: 6-8
Bayrampaşa, 34030,
Istanbul / Turkey
TR 9150171175
Bayrampaşa Tax Office