For quick contact: +90 532 288 2200


Set the fabric print repeat at full size. Use a worked example to prepare artwork, colourways, a cutting layout and an approval sample for metreage printing.
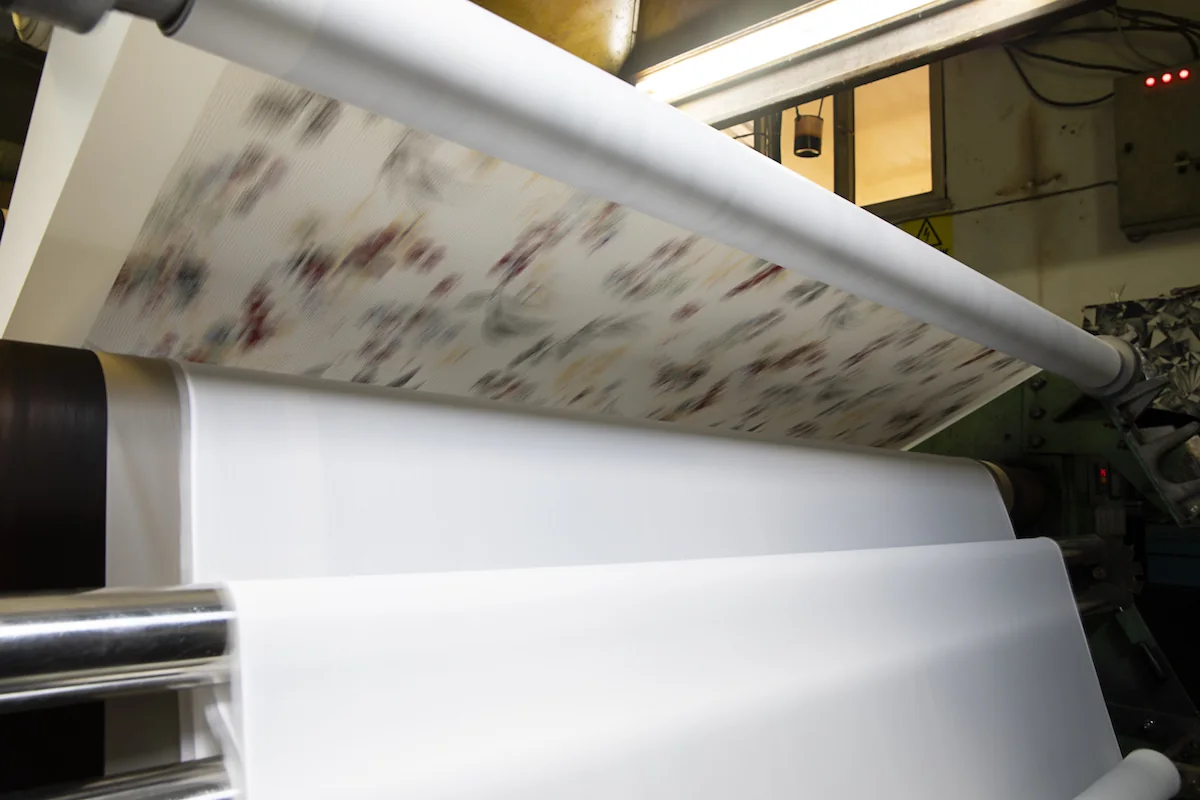
Give the fabric printer enough information to reproduce the design at the right size, place it on the right cloth and supply a sample that your team can assess. Record the repeat width and height, the usable print width and the sample reference together. The designer can check the motif, the buyer can compare the quoted metreage and the cutter can locate the pattern on the finished piece. This guide follows a striped shirt fabric from its first repeat to the production roll. That example brings the print file, pocket placement and approved colourway together in one brief.
Make a drawing of the finished item and mark the areas that will remain visible. On a shirt, the front placket covers part of the printed cloth when the garment is closed. If a stripe has to continue across the pocket, show the pocket in its finished position and draw the seam line. That view gives the printer and pattern cutter a common reference when deciding on the width and starting position of the repeat.
Record the fibre content, woven or knitted construction, ground colour, roll width and any known finish. Mark the direction of stretch where the garment will use it. The same ink and design can read differently on two white grounds or on materials with different textures. Specify the lot that should be used for sampling. If the cloth is still being selected, ask the fabric sourcing team to discuss two possible grounds and give each candidate its own reference.
Choose the sample’s main decision first. Mark the edge or position that the supplier should print and measure. When comparing techniques for a new material, review the guide to fabric printing methods before setting the sample requirements.
A repeat is the unit of the design that recurs across and along the cloth. Write its width and height in centimetres and prepare a tiled preview at full scale. In a straight repeat, check the matching position on the opposite edge wherever a stripe or other element crosses the boundary. Look at the corners as well, because a junction can involve four tiles. A preview with several repeats helps the buyer and printer check the same junction before either team measures the sample.
In a half-drop arrangement, adjoining columns can be shifted vertically by half the repeat height. A tile measuring 30 centimetres across by 24 centimetres high can have its second column offset downwards by 12 centimetres. The first alignment returns in the third column. If the printer uses a rectangular production tile, a 60 by 24 centimetre file can contain both columns. Confirm how the printer wants the shift supplied and check the new tile’s outer edges together. Repeat options for fabric designs.
Mark the lengthwise direction on the preview and identify pieces cut in the same direction. Add marks for the cloth face and both edges, so the team can check the motif orientation separately from the repeat size.
Assess a raster image using both its pixel dimensions and the finished size of the print. A file 3,024 pixels wide gives roughly 240 pixels per inch when printed 32 centimetres wide. If the same file is printed 48 centimetres wide, the density falls to around 160 pixels per inch. The motif covers a larger area too. Convert the physical width to inches by dividing centimetres by 2.54, then divide the pixel count by that width. Adobe’s explanation of image size and resolution.
Keep the design proportions unless the design calls for a change. Scaling a pocket border changes its thickness and the gap to the seam. Name the production artwork and presentation preview separately. Indicate the repeat dimensions on the preview.
Ask the printer what file type, colour profile and level of detail suits the production process. Point to the smallest line or piece of lettering that needs to remain legible. Request it at the intended size on the sample. Inspect the detail with the weave, ground colour and direction of the finished garment in view. That gives the approval team a specific place to check if the print is revised.
Record the total roll width, the usable print area and the width available to the cutter as separate values. Ask the printer to confirm the print area and ask the cutter where to reserve allowances. In the shirt example, a usable print width of 165 centimetres fits five complete repeats of 32 centimetres, taking up 160 centimetres. Depending on the starting position, the remaining five centimetres can be a margin or part of another motif.
Place the shirt fronts and pocket on the print plan at full size. If a stripe must meet across the placket or side seam, fold the seam allowance and check where the stripe will appear. Pattern pieces depend on the seam location and allowances as well as the number of repeats across the cloth. A sewn trial with two relevant pieces gives the cutter a way to check direction and alignment before arranging the rest of the pieces.
Show how the layout changes when the garment is graded across sizes. A stripe that meets a pocket corner in one size can move to the next repeat in a wider size. Mark the pocket corner, placket and first complete stripe as separate measurement points. For an all-over print, the cutter chooses the required position within the repeat. A panel layout assigns a position to each piece in the file. Ask for the option that meets your alignment requirements and record how it changes the number of parts per metre.
Ask the printer to measure the first roll if width varies by lot. Identify any change to scale, starting position or edge allowances. Include extra length for matching the seams in the quoted metreage.
Give each colourway a code and record its fabric lot. In the example, navy, light khaki and burgundy use the same stripe geometry with different ground colours. Lightness and contrast can shift when the same colour is viewed against a dark or pale fabric. Compare the printed swatch and a physical reference together under the lighting agreed for approval. Bring any visible thread or lining into the comparison in the position it will occupy in the finished garment.
If the printer specifies a colour profile, associate it with the correct production version. Use the screen preview to mark areas that need attention and the physical sample to evaluate the result on fabric. For the light khaki version, for instance, approve the ground shade and the line colour as separate decisions. Note the viewing conditions and the reference that should be used when the first roll arrives. Keep a location record for the approved cutting in case a different person handles incoming quality checks.
Give the production team the artwork, repeat file, layout preview and approval notes with matching references. For example, use K27 Navy v03 in the production file and the sample record. Identify the fabric lot and date of approval. Add a separate code for another colour. The designer can return to the editable artwork, while the printer and cutter can locate the specific files from which the approved cutting was made.
For a design selected from a collection, send the code, colourway and desired print scale. When working from your own artwork, share the version approved for production and specify any scope for alteration. The Ünlü Group textile design studio describes its support for adapting designs, working on bespoke prints and preparing files with colour variants. Discuss which changes are needed and agree how the files and swatches will be delivered for your project.
List the colourway, repeat dimensions, approved fabric and swatch photo together. When sending a revision, identify the changes and the previous sample it supersedes.
Request a sample that includes a repeat junction, the smallest lettering or line and a broad area of colour. Mark the place where a thin stripe crosses the repeat at full physical dimensions. In the shirt example, inspect the finished pocket edge and the placket using the same cutting. Join two test pieces at the intended seam and see where the stripe appears when the seam is closed.
Look at the fabric in the direction and posture it will have in use. For a stretch garment, check it relaxed, under the expected stretch and after release. If a care test is relevant, agree the conditions with the supplier and keep the observations with the sample. Position a blank cutting from the same lot alongside the print to assess the ground colour and handle. Then discuss concrete changes such as moving the stripe start by three millimetres beside the pocket.
Record what each approval covers. Review scale and overall placement in the drawing. Check colour, edge definition and handle on cloth. Check the seam and the expected finished measurements on an assembled cutting. Give each approval the sample code, revision and date. Where two trials are available, indicate the chosen one in the photograph and on the cutting. If a correction is requested, mark the reference point on the drawing so both teams measure the next sample from the same place.
The brief starts with the production lot and a usable print width of 165 centimetres. Design K27 is a straight repeat measuring 32 centimetres across, with the stripe running lengthwise. The full-size layout shows the marks for the placket and pocket. Navy v03 is the first sample. A later colourway will have its own identifier and a preview at the same scale. Set a sample approval date and identify the person who will inspect the seam alignment.
State who supplies the cloth, how many rolls are involved and the metreage required. Ask which costs cover preparation, sampling and production, and how changes to the layout affect those costs. If the printer proposes a different print width, request a revised plan with the expected parts per metre. Send the actual-size drawing, colour reference, fabric sheet and layout together. You can share the brief with Ünlü Group to discuss design, sourcing and fabric printing for the order.
Check the same stripe, direction and junction against the approved cutting at the start of production. Match the sample to the roll number and fabric lot. For a full-width design, look near the centre and toward the edge. Use the actual pocket or placket pattern where the position matters. Record the distance along and across the roll if a difference is found and capture an overall view and a close-up to help the printer locate it.
Give the cutting team the approved file, direction marks and the conditions it needs to confirm. Before a reorder, check the ground colour, finished width and artwork version against the previous sample. If a part of the project has changed, document the effect on the repeat, colour or cutting plan in the approval record. Those references help the team reproduce the layout and explain the assumptions when it prepares the next quotation.
For repeat orders, include a printed cut-off from the approved run with the order. Ask the printer to mark the fabric face and roll direction on the corresponding new piece so a reviewer can orient both samples consistently during inspection.
phone: +90 212 576 5250
fax: +90 212 493 0336
email: info@unlutransfer.com
Yenidoğan Mah. Eser Sok. No: 6-8
Bayrampaşa, 34030,
Istanbul / Turkey
TR 9150171175
Bayrampaşa Tax Office