For quick contact: +90 532 288 2200


Measure the same reference marks before and after transfer. Use the results to check usable width, piece dimensions and print alignment.
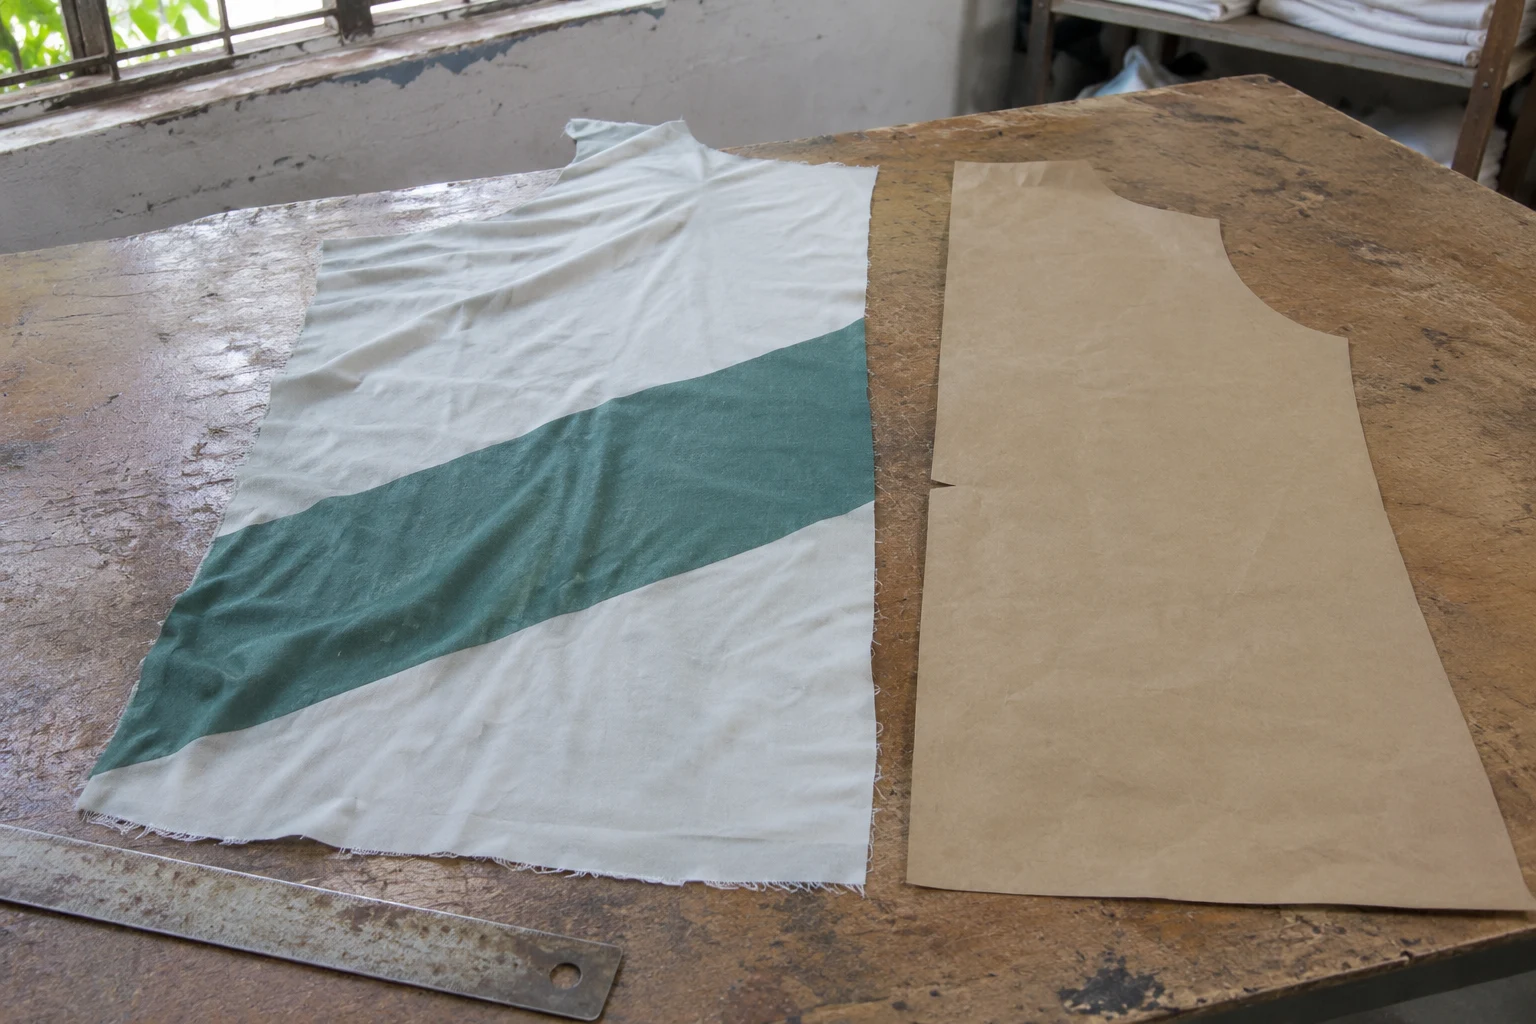
To check pattern layout after dye sublimation, measure marked distances along and across the fabric before transfer. Measure them again after the fabric has cooled and settled without tension. When the fabric is transferred in the piece and cut afterwards, work from the usable width and print position on that transferred fabric. When cut panels are transferred individually, check the resulting panel against the garment pattern and the pieces it will be sewn to. Check the print at the seam line as a separate step, even if the panel fits the pattern.
Imagine a front and side panel with a diagonal green band crossing their join. The front can meet its width target while the band reaches the seam at a different height on the side panel. The two printed edges can meet even though the armhole shape has changed. Set up the trial so it exposes both situations. Record what happened to the fabric in each direction, then bring the garment pattern and the transferred sample together. The person preparing the print and the person laying out the cut will then have a common reference.
Take a sample from the polyester fabric intended for the order. Record its article code, lot, face and position on the roll. Mark the roll direction beside the trial area. The warp and weft directions of a woven fabric are useful references. On a knit, identify the direction of the wales and courses. Keep the same direction marked on the cutting layout. A piece turned round to fit on the measuring bench can easily make a length reading look like a width reading unless somebody labels the axes clearly.
Record whether the transfer is made on fabric before cutting or on individual pieces after cutting. For a roll transfer, choose a sample that lets you check areas of the fabric the planned marker needs to use. For panel production, make a trial close enough to a real part to show the armhole, hem or other important edge. A small rectangular swatch is useful for an initial reading. The way that swatch sits on the bench gives limited information about a shaped panel with a curved edge and a joining piece running in a different direction.
Before measuring, leave the sample flat and free of tension. Pulling on an edge to align it with a ruler changes the condition in which you take the reading. If the edges curl, choose a repeatable reference inside the cloth and keep the same arrangement for both readings. Follow the conditioning and measurement method agreed for the order. Record when each reading was taken and how the pieces were handled. When another person repeats the trial, that record allows them to reproduce the setup instead of trying to infer it from a photograph.
Mark a pair of points in the length direction and a separate pair across the fabric. Choose marks you can find after transfer and keep them clear of the print detail used to assess seam alignment. If you need more locations, identify the pairs by position. A pair near the middle of the cloth and one nearer the edge can each be useful, particularly if a large garment piece needs most of the printable width. Note the original distances before the sample goes to transfer. Make sure the fabric is sitting freely when the ruler is lined up with each pair.
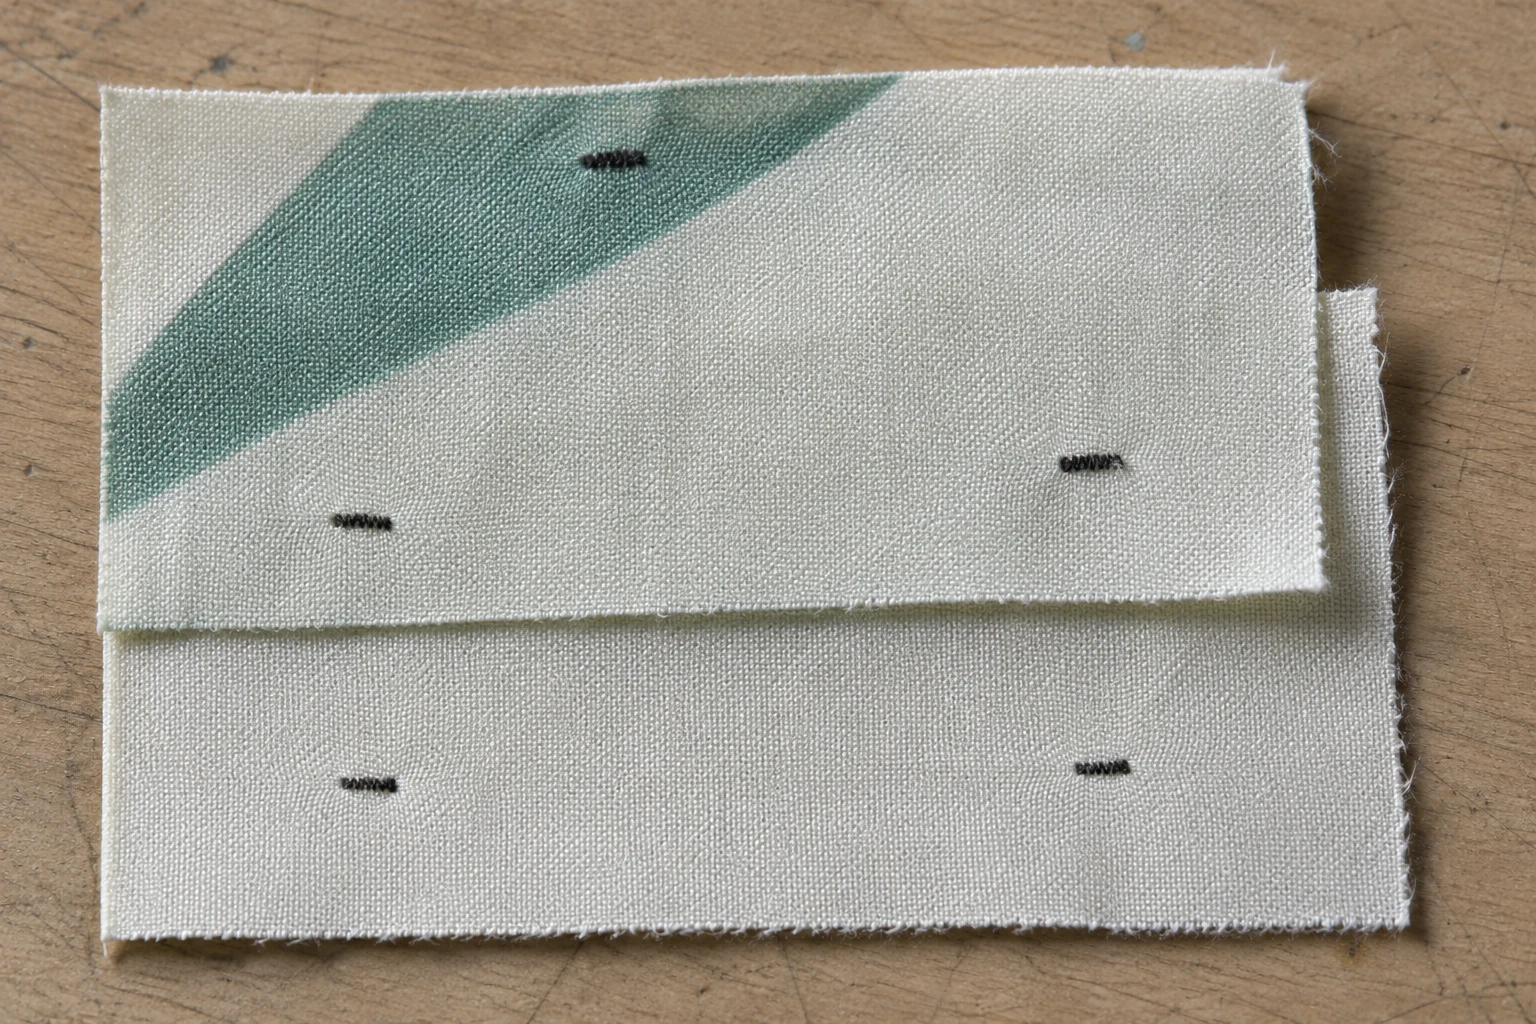
Put the sample through the transfer sequence intended for the order. Keep the fabric direction, working face and position consistent with the planned process. Let the transferred cloth cool and settle flat before measuring again. Start and end at the same points as the initial measurement and note how you read small increments. A second person should be able to identify the points and reproduce the reading. If the difference is smaller than the reading you can reliably repeat, check the setup and test another sample before interpreting that number.
To express the change as a percentage, subtract the original distance from the final distance, divide by the original distance, then multiply by 100. In an illustrative trial, a lengthwise interval that measures 200 millimetres before transfer and 196 afterwards has changed by minus 2 percent. A widthwise interval that goes from 160 millimetres to 159.2 has changed by minus 0.5 percent. These invented figures show the calculation. Record both directions, including the sign, so the next person can tell whether an interval shortened or grew.
Keep one duplicate trial from a comparable position on the same material. If the two results differ, check whether one piece was turned, laid differently or measured in a different condition. A second position closer to the usable edge may matter when the layout is tight. Keep its readings separate so the result is traceable to that area of the roll. The progress of a line across the cloth is worth recording too. A marked interval can remain nearly the same while a previously straight alignment line skews. Place the fabric beside the pattern with the direction mark visible and see where the line runs relative to the part that will be cut.
Use the cooled and settled fabric to find the actual working width available to the planned layout. Allow for the edges and for any printed or unprinted areas the garment pieces cannot use. A width measured at one place may be sufficient, while the marker sits much closer to the edge somewhere else. Check positions that matter to the marker, especially when a large piece approaches the working boundary. Nominal roll width is a starting point for estimating. The transferred fabric gives the cutting team the width it needs to test a particular arrangement.
Suppose the front and back pieces were planned side by side across the cloth. Each piece can fit on its own while the pair no longer fits within the working width. If a diagonal band has a set orientation, rotating one piece to gain room may shift the direction of that band on the garment. Lay the pieces out with their actual direction and enough of the print to see the next repeat. A row that needs one fewer part changes the quantity the cutting plan yields. Review placement and material use on the same trial so the fabric estimate reflects the layout you can actually use.
Identify the cutting and sewing lines before assessing the print at a join. The diagonal band can cross the raw edge at one point and meet the stitching line at another as the allowance turns inside. Lay the two pieces in their intended orientation, then mark where the finished seam will meet the band. If the fit depends on a particular notch or corner, check that reference in the same setup. By writing down both measurements and the visible join, you can tell whether the next trial needs to address placement on the fabric or the position of the print within the panel.
A pre-cut panel needs a second check once it comes out of transfer. Lay it flat and compare it with the pattern in its intended orientation. Line up one agreed reference and see where the other points land without pulling the panel. Read the overall width and length and check critical locations such as a notch or the bottom of the armhole. A record of measurements from before transfer lets you compare the two stages. The pattern itself lets you check the shape required for the next stage. Record the dimensions and the fit against the paper separately.
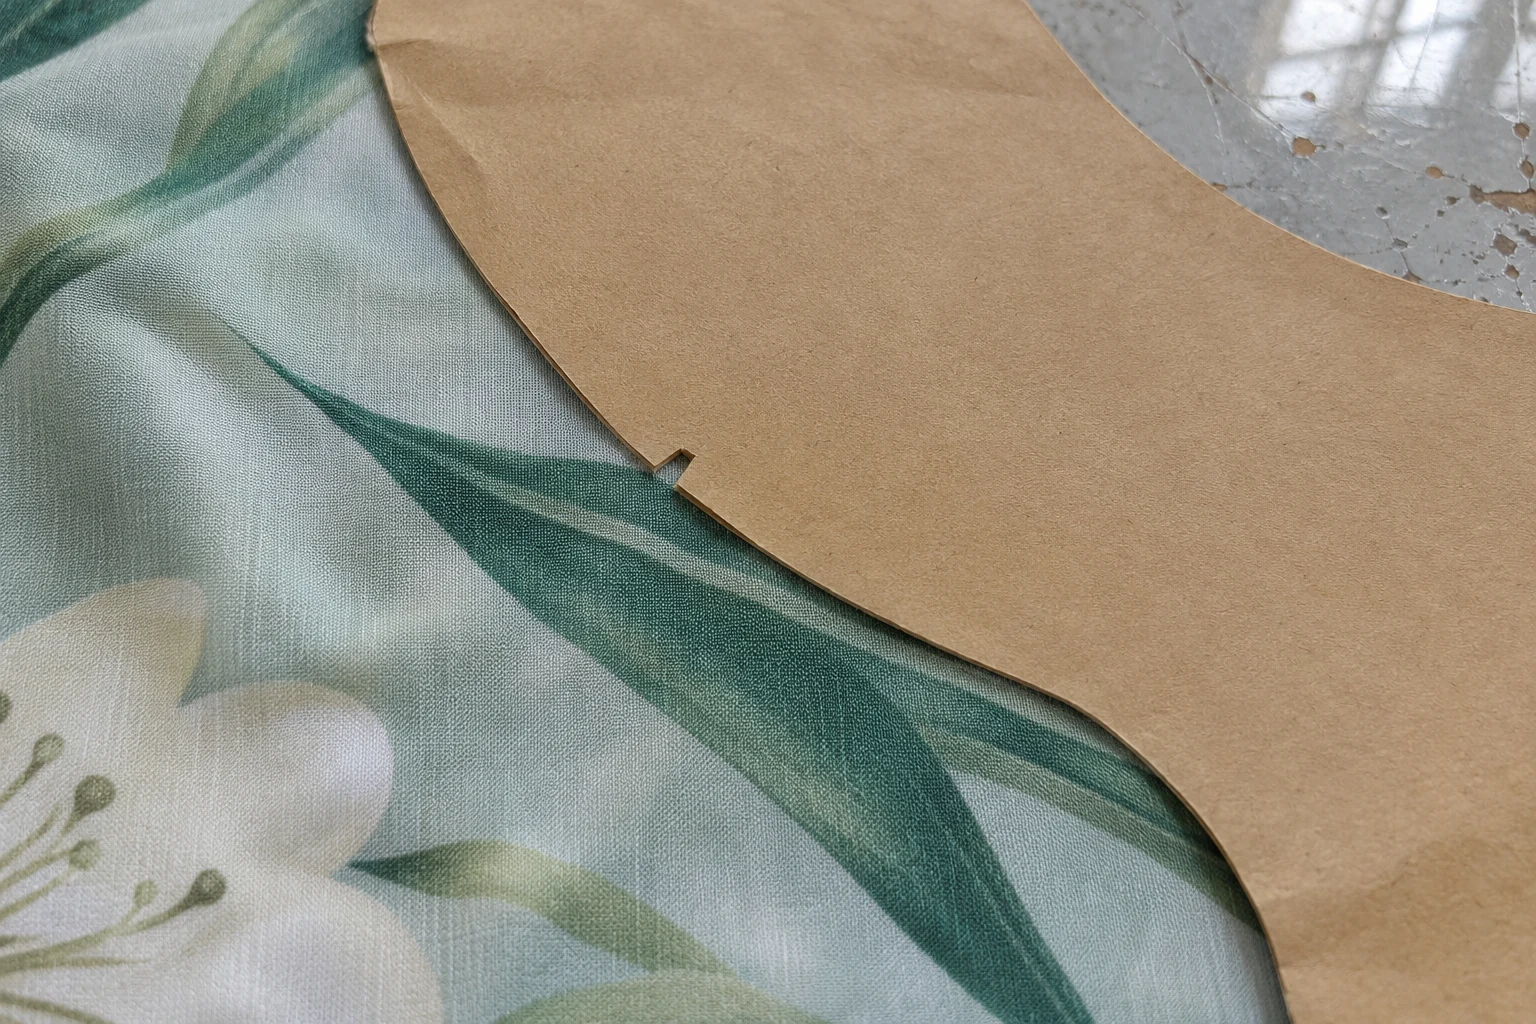
Check the piece that will join the panel too. A joining piece cut in another direction may move differently under the same transfer. Line up the points the sewer will use and see how the curves and ends meet. An edge can be pulled onto the paper while a piece is on the bench, hiding a difference the operator will encounter at the machine. Leave the panel free as you mark the mismatch. If needed, make a small sewn trial with the intended allowance to see what the change means at the seam and on the finished side.
Placed prints need their own reference. If a clear space in the design is meant to frame a pocket opening, plot the opening on a copy of the pattern rather than estimating its location from the swatch. Check it against the transferred panel with the grain direction and alignment marks in view. Moving the print to improve the pocket clearance can shift the design near the hem too. On the next sample, check the pocket location and a second point affected by the change. Photograph the trial from above so the team can locate the marks, and attach the distances taken from the fabric.
Before entering compensation in the artwork, establish whether the same fabric and transfer sequence produce a similar change in a repeat trial. Then identify what has to move. A working width that is too narrow may call for a new marker. A break in a band across two correctly sized panels may call for a change in print placement. A panel that falls outside its required measurements needs a review of the actual pattern and process. Record which decision the new trial is intended to verify. The sample can show whether the decision solves the issue without changing another part of the product unexpectedly.
The extra printed area around a cutting edge serves another purpose. It helps cover the edge when printing and cutting have some positional variation. An ample printed area can leave a continuous colour all the way to the edge while a diagonal still meets the next panel at the wrong height. Mark the point where the diagonal crosses each stitching line and compare those points under the intended seam allowance. Retain the original print and paper pattern for comparison when the print file is edited. Put the artwork version and the pattern version on the same trial record.
If you see an unexpected lean or shift, check the orientation of the panel and the transfer paper before attributing the result to a single percentage. See whether it recurs in the same place in a duplicate trial. If the outcome varies across the material, mark the positions on a simple roll sketch. Use the product specification and the agreed tolerances to judge what can be accepted. A number from a small trial on one fabric applies to the material and conditions under which that trial was made. Recheck the measurements when fabric construction or the transfer sequence changes.
Keep the fabric code and lot, the grain marks, the before-and-after measurements on both axes and the order of transfer and cutting. Record what was approved, whether a swatch, a full-width layout or a sewn join. File later care trials separately.
If two panels need 152 cm across a roll, a layout drawn for 154 cm must change when the usable width falls to 151 cm. Recalculate the fabric required for the finished quantity. For a roll-to-roll dye-sublimation quote, supply the revised layout and mark the critical seam. Check both on a production-fabric sublimation trial. Repeat both measurements if the fabric changes, and label approval with the measurement date and the outer edge reference.
phone: +90 212 576 5250
fax: +90 212 493 0336
email: info@unlutransfer.com
Yenidoğan Mah. Eser Sok. No: 6-8
Bayrampaşa, 34030,
Istanbul / Turkey
TR 9150171175
Bayrampaşa Tax Office