For quick contact: +90 532 288 2200


Check the same positions across the width near the beginning, middle and end. Compare the same part of the motif in each view or profile measurement.
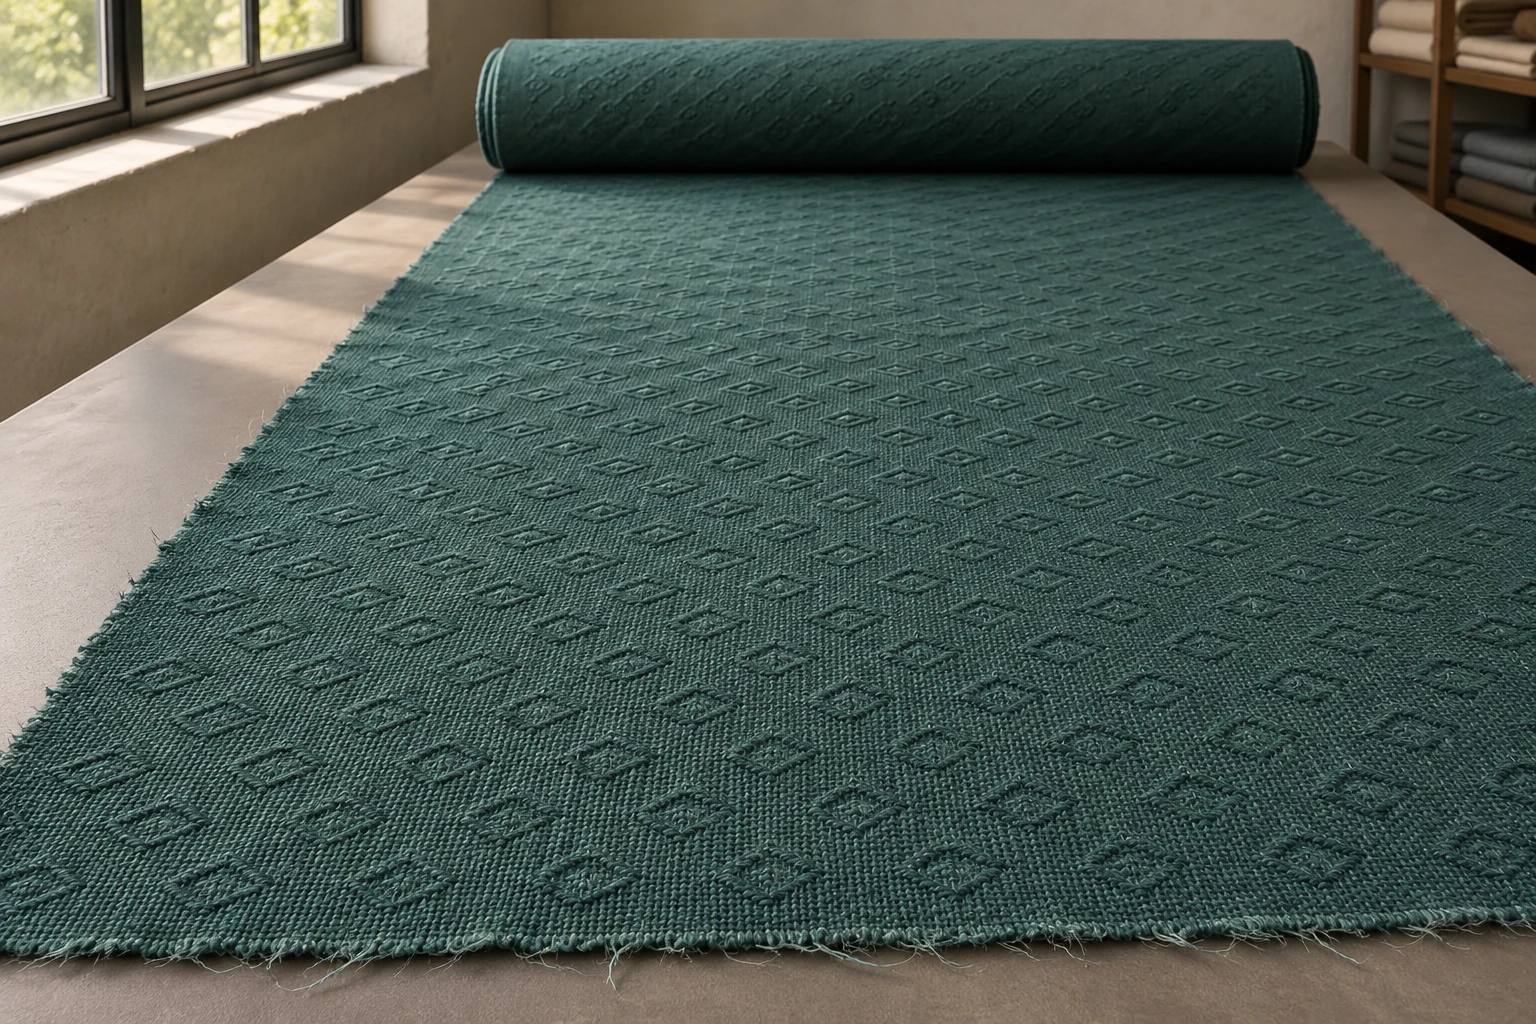
Choose the same positions across the fabric near the beginning, middle and end of the roll. At each length position, check the left, centre and right with the embossed face up and light coming from the same side. Compare the same crest and valley in each motif. If one area looks shallower, verify the light, the way the cloth is supported and how long it has rested after unrolling. If the specification calls for a height measurement, use a suitable surface profiling method and keep the measurement line and area consistent. The resulting record should show whether the difference extends across a strip, along a section of the roll or only around one motif.
Imagine a dark teal cloth with a small diamond pattern formed by a roller. The outline is easy to see near the first section you unroll, but looks less distinct in a sample from the middle. That observation gives you a place to look again. If you know which side the middle sample came from, you can return to that same side near the beginning and end. The aim is to repeat a well-defined comparison at specific positions along the roll. When the fabric will be cut into several pieces, keep the original length and width positions attached to the photographs and samples so the area can be found again.
Roller embossing is called gofre in Turkish textile production. For a sample request, include the face, motif direction and location of the cutting alongside the process name.
Record the roll identity and the direction along its length. The first end you unroll can differ from the end produced first. State which one your measurements start from and use it for every reading. Choose a position near the beginning, one near the middle and one near the end. Mark a leader, joining seam or portion excluded from cutting separately. If the roll is later opened from the opposite end, the same inspection point should still be identifiable. Mark the length direction of any strip before cutting it so a sample turned around on the bench does not get recorded on the wrong side.
Define the left, centre and right positions across the width. Name the sides while looking in the recorded length direction with the embossed face up. Locate the outer points within the usable width. An incomplete motif beside a raw edge may fall entirely outside the area used for the product. Use comparable offsets on the two sides and a consistent definition of the centre. When the usable width changes, record the actual width and the reference from which you measured. This helps distinguish a change in the relief from a change in where you are looking on the fabric.
Three positions across the width at three positions along the length give nine observation areas. These are a first set of checks. For example, you might choose 5 m, 42 m and 79 m on an accessible 84 m roll, after accounting for sections that cannot be used. If the left side looks flatter at 42 m, look at the same side immediately before and after that position. Add a point towards the centre if the change seems confined to a narrow strip. Record which positions you have examined. Areas between the observations require further checks before you can describe them.

When taking cut samples is possible, lay the three strips on the same table with the sides aligned, the face up and the length direction consistent. When the roll must stay intact, open it on the inspection table and observe the chosen points in place. Record whether a sample was cut, folded, rolled or laid flat. A freshly opened section and a cut piece that has sat under a weight may show different surface conditions. Photograph the arrangement at the start. If small pieces are later cut from the left, centre and right, keep each one connected to its original strip and position.
Lay the cloth on the same type of surface and let it settle without pulling it flat. Soft light coming from one side helps reveal the raised and recessed areas. Keep the direction of the light, the height of the camera and the fabric face consistent. A change in where the light falls can alter the shadow from an unchanged feature. Take an overall view, then a close view of the chosen repetition of the motif. When practical, photograph both samples in the same frame so the camera exposure affects them in the same way.

Choose one feature for the comparison, such as the edge running in a particular direction from a corner of the diamond. Compare it with the corresponding edge on the other piece. Look at several neighbouring motifs as well. A raised thread on one motif can make it look different from the rest of the area. A very close view may show the yarns while hiding the rhythm of the whole pattern. Keep a view from slightly farther back together with the detail. A description such as “the outline on this side is less distinct” gives a second reviewer an identifiable feature to check.
Look under more diffuse light as well. Directional light can reveal the relief, while a straight-on view may make a difference in colour or sheen more apparent. If one piece gets more light, swap their places while keeping their orientation and see whether the difference follows the cloth. Record a sheen difference as a separate observation. If the emboss remains less distinct in more than one condition, note the feature and the light in which you observed it. Put any weights or clips outside the area of interest and allow freshly opened cloth to rest under comparable conditions. Check that a fold beneath the sample is not changing the surface shown to the camera.
If one diamond looks weaker, find the next two along the same line and check them before describing the whole strip. Then review the same group of features near the opposite edge. Keep yarn irregularities or creases separate from the embossed outline in the image notes. A wide view shows whether a crease crosses several motifs. A close detail shows whether the outline itself is still visible where the crease passes. Save both views with the sample and roll position.
A visual comparison tells you how clearly the motif reads. A number for the height difference needs a defined measurement. Show which crest and recess will be compared and run the profile through equivalent parts of the diamond in the same direction. Agree on the evaluation area. The highest point of a single yarn may be different from the crest that describes the raised outline of the motif. Mark the profile on a photograph, so another person can see which feature the reported value refers to.
Contact pressure can change a soft fabric surface. A suitable non-contact method can be considered when you need the profile with the relief left in its resting shape. Confirm that the instrument can read the surface and resolve the expected feature size. Use the same support and positioning for each reading. Record the unit, the direction and the area covered. A total fabric thickness describes a different dimension from the height difference between one crest and one recess. Shadow length in a photograph has its own dependence on the lighting and is not a calibrated height measurement.
Take readings from neighbouring repeats as well as the first motif. If a difference is small, reposition and remeasure the same piece under the same conditions. Look at how much the instrument and setup vary when you repeat the reading. If part of a motif could not be read, mark that area as missing in the record. On a wavy ground, ask the measuring team how the baseline of the profile was established. Keep measurements made with different reference methods separate and relate each profile to the image of its actual position on the cloth.
If the same side looks shallower at all three length positions, document that distribution across the roll. Put the left, centre and right views in the same order. If all three width positions change together at one point along the length, add length positions on either side. If only a single motif differs, inspect the immediate area and compare adjacent repeats. The distribution helps decide where to look next. By itself it does not establish the condition of a roller or a change in heat or pressure.
When a difference appears at an edge, record how far into the usable width you actually observed it. Move from the edge towards the centre and take intermediate readings where needed. Use the same idea along the length. If one chosen point differs and the next one looks regular, note the two positions and the extent you have observed between them. A map with those limits is more useful for a cutting decision than a description of the entire right side. Identify which roll the finding belongs to, even when several rolls have the same colour and motif.
Send production the length position, the width reference and both views of the chosen feature. Include fabric lot, face, direction, inspection time and measurement setup. The production team can then check its own records against that section. If a separate mark repeats at a visible interval, document it separately from the general relief. A recurring line, an area with more sheen and a shallower motif can appear in the same photograph. Identify which one affects the finished use before deciding what to recheck. Keep the first nine observations and append extra readings with their dates and locations.
Decide how the observations will be used before inspecting the roll. A panel placed in a prominent area of a garment may need a more consistent appearance than a narrow strip cut from a less visible part. For any visual limit, agree on the viewing conditions and retain a physical comparison piece. For a numerical limit, agree on the profile method, locations and repeat measurements. Keep these conditions with the inspection record. A note about a softer outline has a different meaning when it was made against a known sample than when it was made by comparing two arbitrary parts of the same roll. Where the specification leaves the decision open, describe the observed difference and identify the part of the finished product it could affect.
In the roll record, name the areas inspected and how you checked them. For a visual review, you might note that the three centre positions look similar under the same light while the motif on the right near the end is less distinct. If a profile was measured, keep the values on a separate line with the feature and location. Save the physical pieces with the roll direction and length position. If the difference falls in a part needed for cutting, add observations to find its limits before allocating that part of the roll. The next inspection should be able to return to the same area and compare the same feature.
phone: +90 212 576 5250
fax: +90 212 493 0336
email: info@unlutransfer.com
Yenidoğan Mah. Eser Sok. No: 6-8
Bayrampaşa, 34030,
Istanbul / Turkey
TR 9150171175
Bayrampaşa Tax Office