For quick contact: +90 532 288 2200


Check the underarm, elbow, cuff and external contact points in a mock-up that reflects the shape, construction and use of the garment.
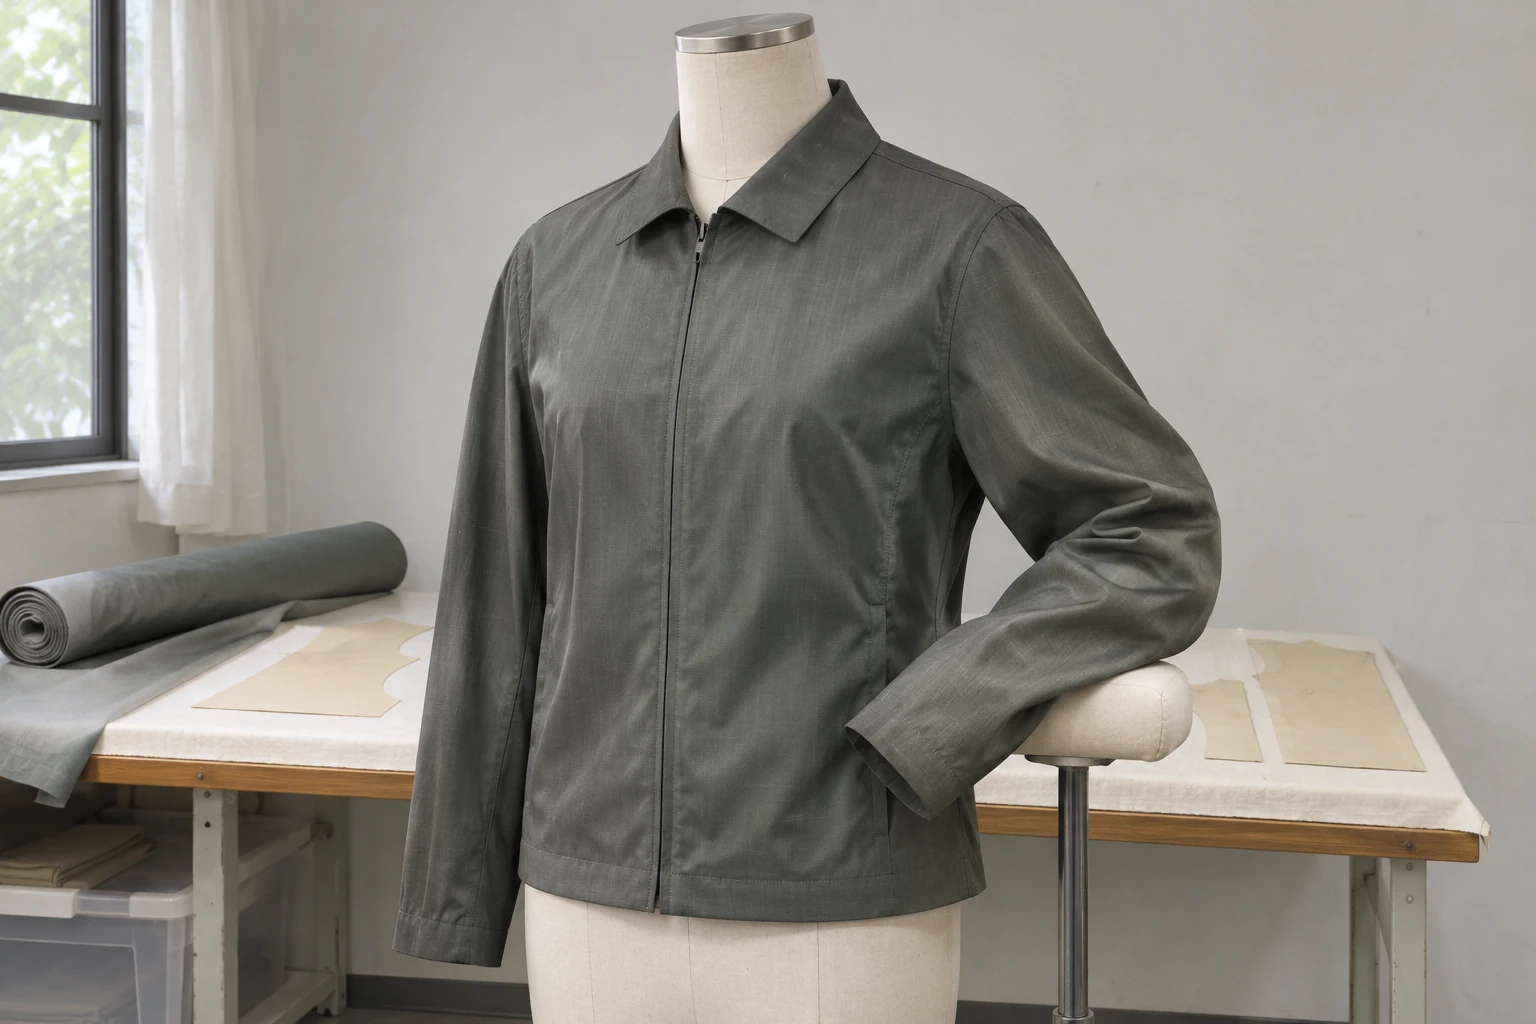
Start with the parts of the garment that move most or touch another material. Mark where the sleeve and body meet under the arm, where the fabric bends at the elbow and cuff, and where an accessory such as a bag strap meets the shoulder or side. Build a small trial with the fabric, seams, lining and support in their intended locations. Compare the sheen, marks and handle before and after the check. If colour transfer is a concern, examine the material that touches the glossy cloth separately. The most useful trial puts the actual contact surfaces together in the directions and shapes they will have on the garment.
Imagine a lightweight jacket in smoke-grey glossy cloth. The front panel looks even while resting flat. When the sleeve reaches forward, a bright band appears around the elbow. When the arm returns to the side, the underarm fabric may slide against the body panel. A bag strap may catch the same spot on the shoulder with every movement. Each position can produce a different change. Plan the trial around what happens to the fabric at that location and how visible the area is in use.
Describe how the garment will be worn. A jacket used briefly as an outer layer has different contact points from one worn with a bag all day. In the second case, look at the strap line and where the bag rests along the side. On a fitted sleeve, identify where the wearer bends the arm and where the fabric touches a lining or layer beneath. Mark the body pieces, sleeve, cuff and collar on the pattern plan.
For every point, identify both materials. Under the arm, the outside of the sleeve can touch the outside of the body. On another pattern, the area of seam allowance on the reverse may touch the lining. The elbow can fold against itself or touch the edge of a table. At the shoulder, the fabric may meet the broad weave of a strap or its bound edge. Check each relevant pairing. Put a light lining against the intended face if the question concerns transfer to that lining.
Include inward-facing edges. A cuff can turn back when the jacket is put on and its reverse may touch the hand or the clothing underneath. On a collar, the face may remain visible while the reverse meets a lining or sits next to the neck. If two materials are used in one small piece, look at which becomes exposed as it moves. Show the grain and seam allowance on the pattern. Check where the marked location falls after the piece is assembled.
Write down the order of ordinary movements, such as putting the jacket on, fastening it, reaching forward and putting a bag on the shoulder. Note where the cloth changes shape or touches another material. A change in size or sleeve width can move the contact point. Keep the fitting size and lining with the observations. Give priority to areas that receive repeated contact and to places where a small change would remain visible. The same assessment can include both concerns as long as each point has a clear purpose.
Sew part of the sleeve to a side panel if practical. Use the proposed shell cloth and lining and place them in the planned grain direction. Lower the sleeve and see which faces come together. Move the sleeve forward and note where the area around the seam pulls, folds or slides. A flat swatch can show how the fabric responds to a gentle bend. The sewn section shows where the same movement occurs in the garment.
The thickness of an underarm seam allowance and lining can alter the visible shape. A small ridge may catch the light even where the flat fabric has an even appearance. Photograph the outside and inside before taking a trial apart. If you want to compare a change in support or allowance, use a second assembly. Keep the shell fabric and other construction features consistent so that you can see whether the change is associated with the new arrangement.
Pay attention to the section beside the seam as well as the stitching line itself. When the sleeve is down, the glossy face may touch the body beside the join. As the sleeve lifts, the area of contact can spread or move. Mark the area on the pattern sketch. Use a free swatch as a reference if you also want to see how the fabric behaves away from a seam. For another garment size, repeat the ordinary movement and see whether the same part still touches.
Use the actual light-coloured lining if it will be in contact. Photograph both surfaces before the trial. Afterward, record any colour visible on the lining separately from dulling or marks observed on the glossy material. Colour transfer and wear on the surface are separate questions. Identify which fabric faces were touching and explain the use conditions when requesting a more controlled assessment.
Start with a photo of the assembly at rest. Compare the starting sheen with the same area after lifting the sleeve, reaching forward and returning it to its normal position. Keep the direction of movement and light consistent when comparing two assemblies. If the lining shows a mark, check it against the image from before the trial and name the fabric face that touched it. If the shell develops a line, check whether it is still present once the shape has relaxed.
Find the elbow position on the pattern and place the sleeve over a broad, rounded support close to its shape in use. Observe the cloth straight, bent and relaxed again. Check whether the sheen shifts while the fabric bends and whether a line or change of appearance remains after it is released. Return to the same part of the sleeve after each change so that reflections in different locations can be identified.

Compare the outside of the elbow with the folds on the inside. The outside can catch light over a convex surface while folds inside bring two faces together. Use a separate trial to observe bending by itself and another to look at contact between materials. If they occur together in use, check them again on the sewn assembly. Keep an unaffected area for comparison. Note whether a line disappears as the sleeve straightens or remains visible under diffuse light.
Try the cuff in the way it will be opened, folded or put on. If there is a fastening or internal band, see which edge touches the cloth during the movement. When the reverse turns outward, its colour and handle may affect the appearance. Include the seam allowance and lining in the trial. Keep the sleeve in the intended direction and see where the opening narrows as a hand passes through.
Set equivalent samples in the same starting position on comparable supports. Record how long each rested before you looked at it. A piece kept folded for some time may look different from one that was bent briefly. If repeated flexing matters, select the test with the supplier or lab after confirming the construction. Keep the on-garment observation tied to the pattern area and the movement you checked.
Include the strap weave or edge most likely to be used with the garment. Look at how it meets the shoulder in the intended position. A soft strap and a rigid bound edge can make contact in different ways. On a flat table you may see only part of the contact area. On the garment, the strap can follow the shoulder curve and change its position as the wearer moves. Record how it was placed and which kind of motion you considered.
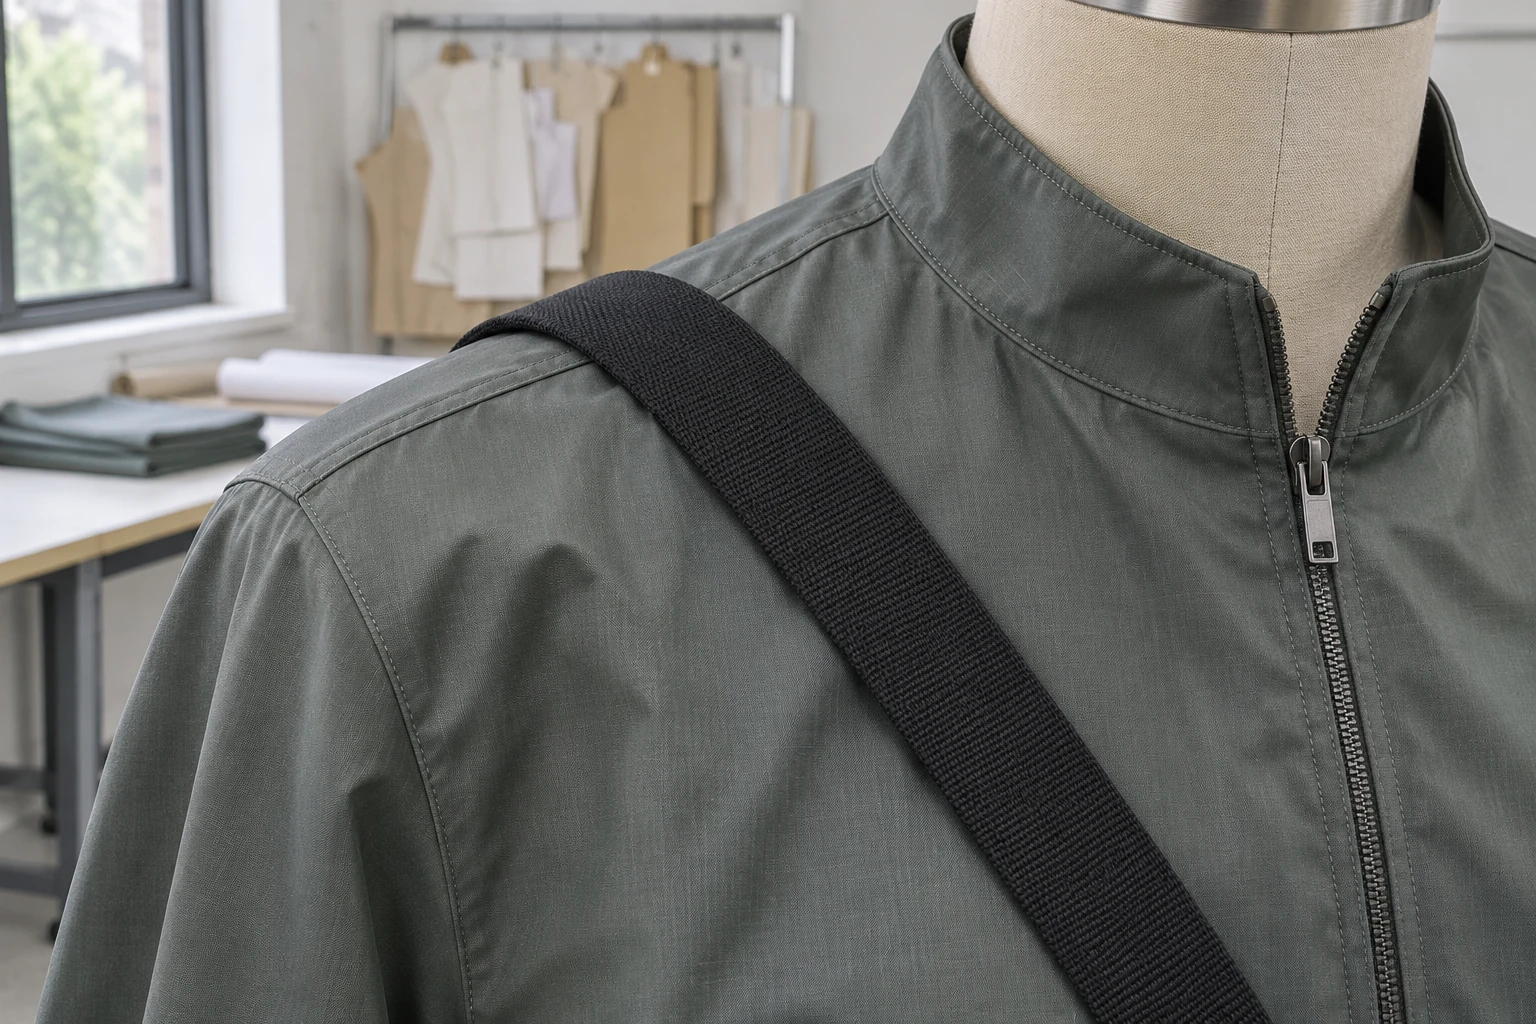
Look at the pocket opening and side panel too. See how a hand moves the cloth when entering the pocket and where the allowance folds in. If the coat will sit against the outside of a bag or another garment, make a small trial with the expected materials. Record transfer of colour, dulling and a change in reflection as separate findings. Identify the area and the conditions of the observation. A difference found only under firm pressure belongs in a separate entry from an ordinary movement.
For a bag worn across the body, mark where the strap crosses the front and where the bag itself rests along the side. Document the surrounding sheen before you move the strap or bag. Then remove it and check whether a visible change remains under the same light. If you try a pocket flap or another piece between the glossy cloth and the contact, assess the new seam and edges too. Compare which surface is exposed and whether the garment changes shape.
Give each check a location on the garment, a material pairing, a grain direction and a support. You might note that an outside elbow reflection moved as the sleeve bent and no line remained after release. Another entry could record whether a mark was visible on the lining. Keep the photographs of the garment resting and in motion together under one sample identifier. Include the pattern piece code and the movement when you request a change.
When a seam makes a mark more visible, show the shell, seam allowance and lining together in a sketch. A change to the seam can alter how the sleeve bends or which piece touches the body. Record the change and test the assembled sample under the same motion. The team can then compare the effect of the construction independently of a decision about the shell fabric.
Use the trial to decide which part needs to be revisited after a change. A different lining affects the reverse contact on the underarm and cuff. A new strap can change the area of contact on the shoulder. Record the relevant edge and keep its material if it will be used again. If the seam allowance or support changes, run the same movement on the new assembly. An actual placement check helps clarify whether to revise the pattern, the material pair or the finish.
Include the usual movement in the sample record. For example, if the cuff is opened every time the jacket is worn, check the fold, fastening and inside band in that order. If the first trial used free cloth, assemble the cuff to see how the same pieces meet. Record the construction and material pairing with the view.
If a standard test is required, tell the lab what the fabric is made of and what result is needed. Transfer, abrasion and repeated flexing are different test questions. A fitting trial identifies the region and pairing to investigate. For a quantified performance result, work with the supplier or lab to choose the relevant method. Repeat the placement check where a change in the pattern, lining, strap or finish alters the contact. Send the production team the approved location and the conditions used to evaluate it.
phone: +90 212 576 5250
fax: +90 212 493 0336
email: info@unlutransfer.com
Yenidoğan Mah. Eser Sok. No: 6-8
Bayrampaşa, 34030,
Istanbul / Turkey
TR 9150171175
Bayrampaşa Tax Office