For quick contact: +90 532 288 2200


Match the printed paper before transfer with the corresponding fabric. Use direction, spacing and the first visible stage to plan the next check.
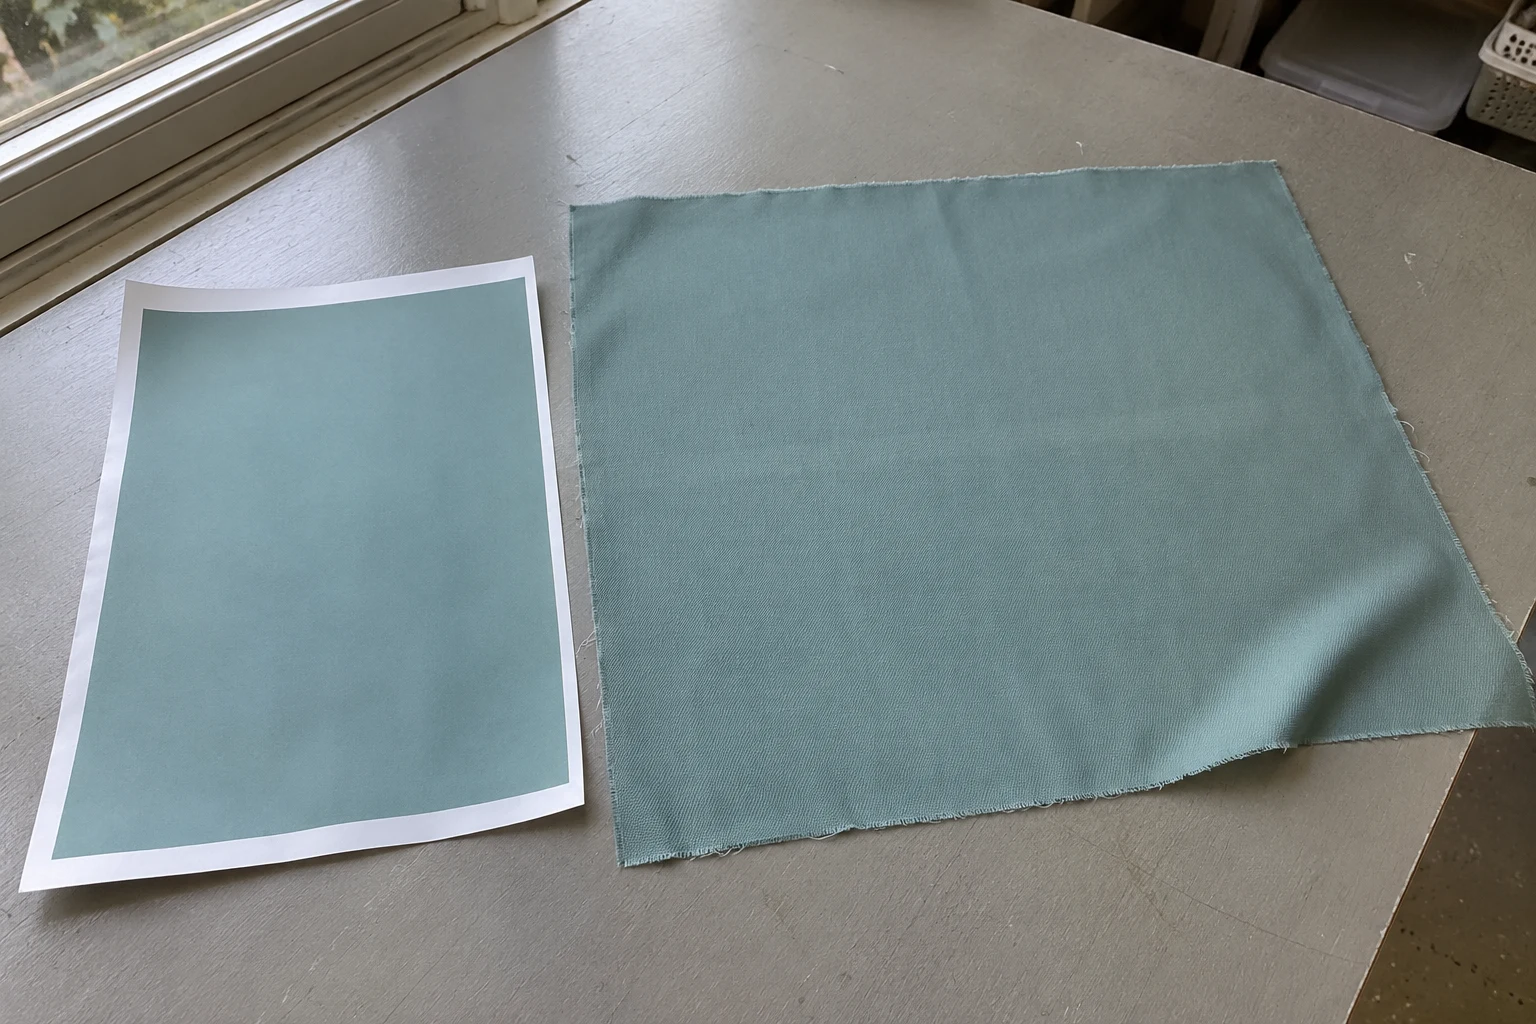
Find the same area on the paper before transfer and on the finished fabric. If a line is already visible on paper, start with the production file and the paper printing stage. If it is first visible on the fabric, examine the original cloth and the position in which the sample was transferred. Record the direction, width and spacing of each mark on the material where you see it. Those observations let the printer check whether the mark follows the printed layout, a position in the transfer equipment or a feature of the cloth. Evenly spaced marks are useful evidence for that comparison, and further checks are needed to identify their origin.
Imagine a petrol-blue sportswear panel with several pale stripes crossing the solid field. You can see a fine line lower down and a wider change of shade near the top. Record them as two findings. The fine line may be visible in the matching print on paper. The broad band might only become apparent on the polyester. Shared colour and proximity are a reason to compare the observations. The first task is to establish whether each mark can be found on both surfaces in the same place.
Keep an unused piece of printed paper from the trial where possible, or take a photograph just before transfer. Note the run, artwork revision, colourway and position it depicts. On the fabric, find a shared feature such as a motif corner, an open area or the boundary of a flat colour. Write down any measurement before cutting. A piece of paper from another run may carry a similar blue and still provide very little information about what was present on the sheet that produced the marked panel.
Account for mirror orientation if the artwork is reversed on paper. Use a pointed motif or another asymmetric detail to align the two views. Specify which side and edge were used for each measurement. A view of the inked side of the paper can be read differently from the way that side is set down for transfer. If you mirror one photograph to check the correspondence, identify the changed view. Keep an original view with the sample record so the supplier can recover both orientations.

Record paper travel through the printer separately from cloth travel or placement during transfer. A band crossing the printer's feed direction may be described differently when the garment panel is laid out for making. For a flat transfer, sketch which way the piece faced at the press. For a roll transfer, note the leading end and the reference edge of paper and fabric. A photograph with a horizontal mark says little about the process direction until the view is tied to the material.
Paper that remains after transfer can help identify the artwork and the used area. Its appearance may have changed during the transfer. State which condition you have in hand. Where a clean comparison is needed, ask the printer to set aside a freshly printed matching piece before the repeat trial. That new piece describes the repeat process. Keep it identified separately from the original paper if the original was unavailable for inspection.
Look at the sample under the usual inspection light. Does the mark look like a thin line with a clear edge, a fold, or a broad area of gradually lighter colour? Does it cross several colours or remain inside one? If it traces the outline of the motif, check whether a second edge is actually visible. For bands through solid areas, inspect another area of the same colour and compare it with the paper. Name the feature you can see. A description such as “pale line crosses two colours and stops at the margin” gives the production team more to work with than a diagnosis inferred from its appearance.
Use comparable points when measuring a series. On broad bands, pick an edge or a centre that can be located again. On narrow lines, mark each one in sequence. Record the surface on which you measured the distance. Add a measurement for a band that breaks an otherwise regular pattern. If the marks differ in width or direction, record them separately. A run of thin lines and widely spaced pale areas can occur on the same panel. The number of lines on the paper may also differ from the number you can see clearly on the fabric.
Check the production file at the same repeat boundary. A deliberate change of shade or a join in the layout can appear in the same position each time. Compare another repeat and a second print from the same file, if one was made. If a mark is visible across two different colours or designs at the same distance from the paper edge, describe that finding too. Matching positions provide a basis for the next trial. They give the supplier more specific information than a single image of one printed field.
Give the printer a marked and an even-looking section from the same output, together with the first photographs. Describe the direction relative to the paper feed, the distance from the edge and how far the mark extends. The printer can decide which checks fit the equipment, including checks of the paper handling, nozzle output and file settings. A pale mark in one colour area does not by itself indicate which part of the printing system is responsible. A second print made on comparable paper can help establish whether it can be reproduced at the paper stage.
Distinguish a visible crease from a change in the inked field. If the paper is curled or uneven, look at it from several angles at rest. Note whether the change appears more clearly when a fold catches the light or whether it is still visible on a relatively flat area. If a piece of unused paper has a similar physical mark, keep it with the samples. Let the printer know if the rolls or freshly printed sheets were stored differently between trials. Those details help it choose comparable material.
Request enough of the original layout to make the next proof meaningful. A small clean test block can give useful information about the printer. A mark that showed across a large solid area may need a repeat of more of the actual design. If it was close to one edge, specify which edge should be included. Once the second paper has been inspected, transfer the matching design to the intended fabric and compare the two surfaces again. Record any other condition that changed as part of the repeat.
Look first for a feature on the unprinted polyester, preferably at the relevant position or on a retained piece of the same fabric. Note any fold, yarn irregularity or contrast between the sides of the cloth before transfer. Put the piece flat and change the direction of the light if you need to distinguish surface texture. Some variations are easier to see through a broad colour field. Record whether the paper was examined before transfer and how it was viewed. A line can be difficult to see on paper even when the resulting impression is noticeable on cloth.
If several panels show a mark near one transfer position, ask the manufacturer to check the recorded layout. For roll work, identify the affected part across the width. For piece work, show which edge faced the relevant area of the press or support. The production team can review the distribution of contact, heat and tension under its own operating conditions. If protective paper or the arrangement of the layers was different for one trial, include that fact. Give the producer enough information to inspect the position without inferring a setting from a photograph.
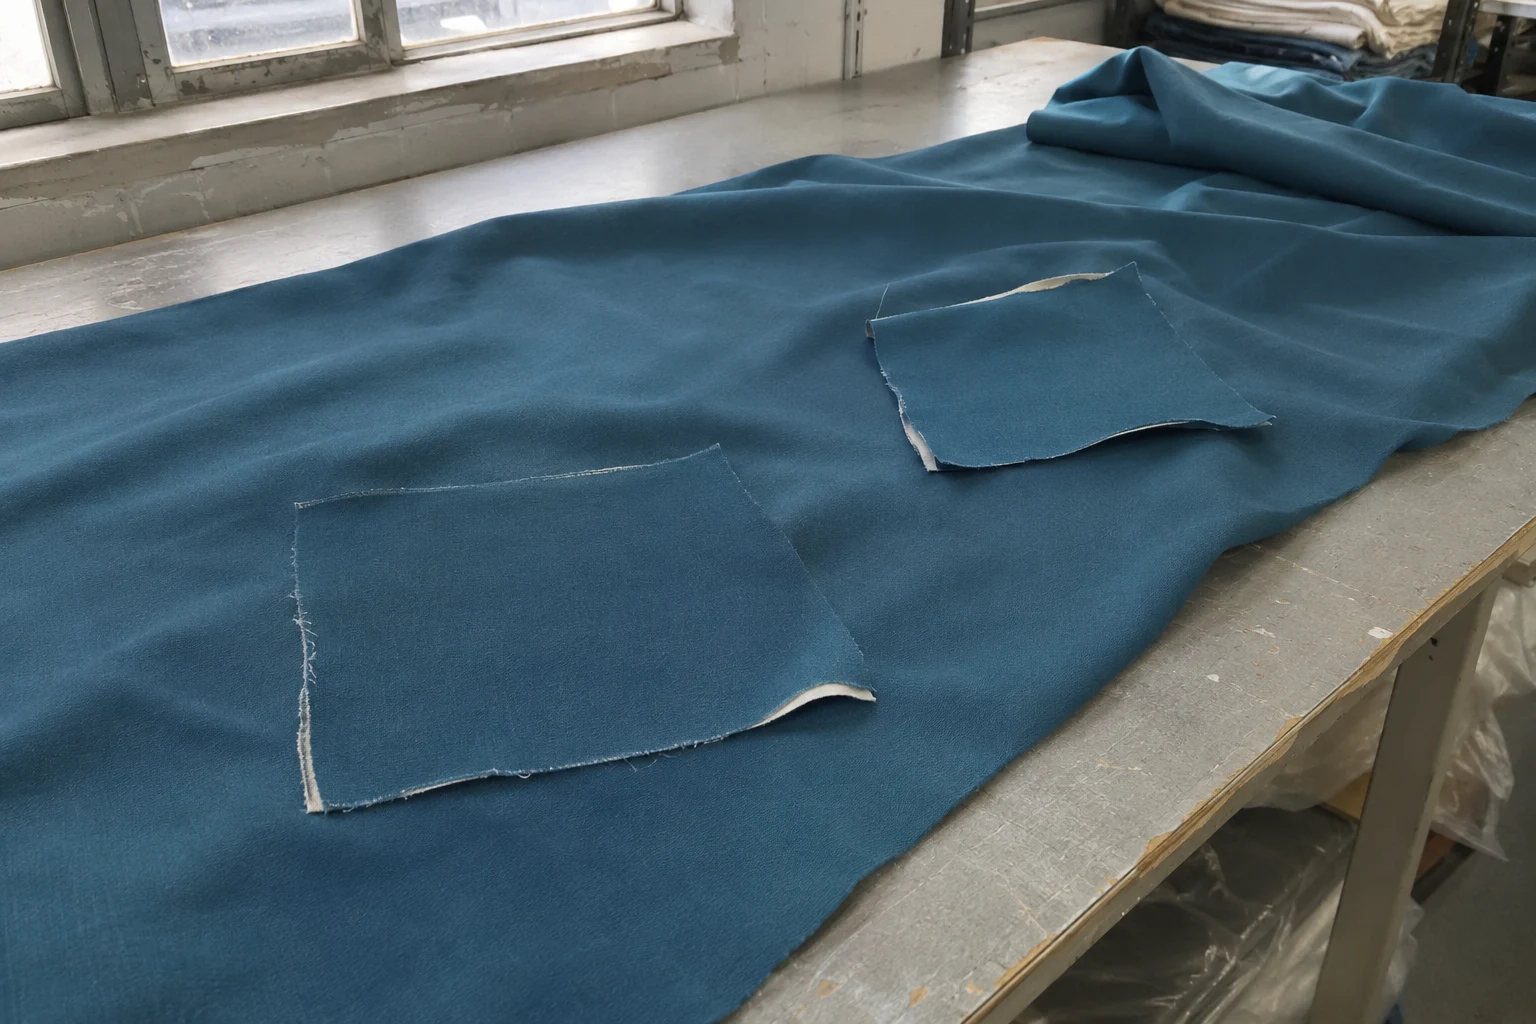
Consider a matched trial in a different position. For example, two parts of an equivalent print can be placed at different points on the transfer width, if the manufacturer can do this under normal operating conditions. Identify the artwork position and the transfer position on both pieces. Retain the paper and incoming fabric references. If the mark follows the motif, review its paper counterpart. If it recurs in a transfer location, examine that part of the process and the original textile. If several conditions changed, record them and keep the conclusion limited to what the comparison actually shows.
A mark noticed at intervals along a roll may also justify checking when the work was interrupted or restarted. Give the actual locations of the marks to the production team. A position measured from the first part you see when unrolling a take-up roll may have a different point of origin from the printer's records. If part of the roll has already been removed, note the length if known. Leave the correspondence open when the reference end or starting length could not be established.
If the polyester already looks different at one edge, examine that difference before the repeat. Photograph the unprinted material, keep the paper identified and then inspect the same two positions once the samples have cooled. With a clean-looking area beside the mark, you can compare the shade in both places under the same lighting. If the repeat uses a different roll, identify it as a comparison from a different lot. A result on that roll can help assess the replacement material while the original matched pieces remain available for the earlier finding.
Send one view that shows the panel or roll orientation and another that shows the mark and surrounding material. Link each image to its paper or fabric position. Include the file version, paper type, fabric lot, stage of inspection and spacing between similar marks. If a line is visible only under side lighting, say so. The next inspector should be able to find the same location and repeat the comparison with the actual pieces.
Before changing a process variable, specify what the next test needs to show. A mark on paper calls for a comparable paper print. A mark that recurs at the same side of a transfer arrangement calls for a check of that position and the cloth. A good result on a new fabric lot can support a decision about that material. Finding the origin of a mark on the earlier lot may still require the original matched samples. Keep those records available and indicate which question each new trial addresses.
Assess any remaining change at the scale of the finished product. A broad band across an exposed front panel may be visible from a distance. A local mark can fall outside the finished piece depending on the cutting plan. Compare any parts that meet in the garment, use the agreed acceptance criteria and record the fabric and processing conditions for the approved print. When you review fabric printing options, send the two stages of the sample, the coordinates and a view that shows where the affected area will sit.
phone: +90 212 576 5250
fax: +90 212 493 0336
email: info@unlutransfer.com
Yenidoğan Mah. Eser Sok. No: 6-8
Bayrampaşa, 34030,
Istanbul / Turkey
TR 9150171175
Bayrampaşa Tax Office