For quick contact: +90 532 288 2200


Use the finished edge and closure as references. Check the print on both front panels, through the fastening movement and against the lining.
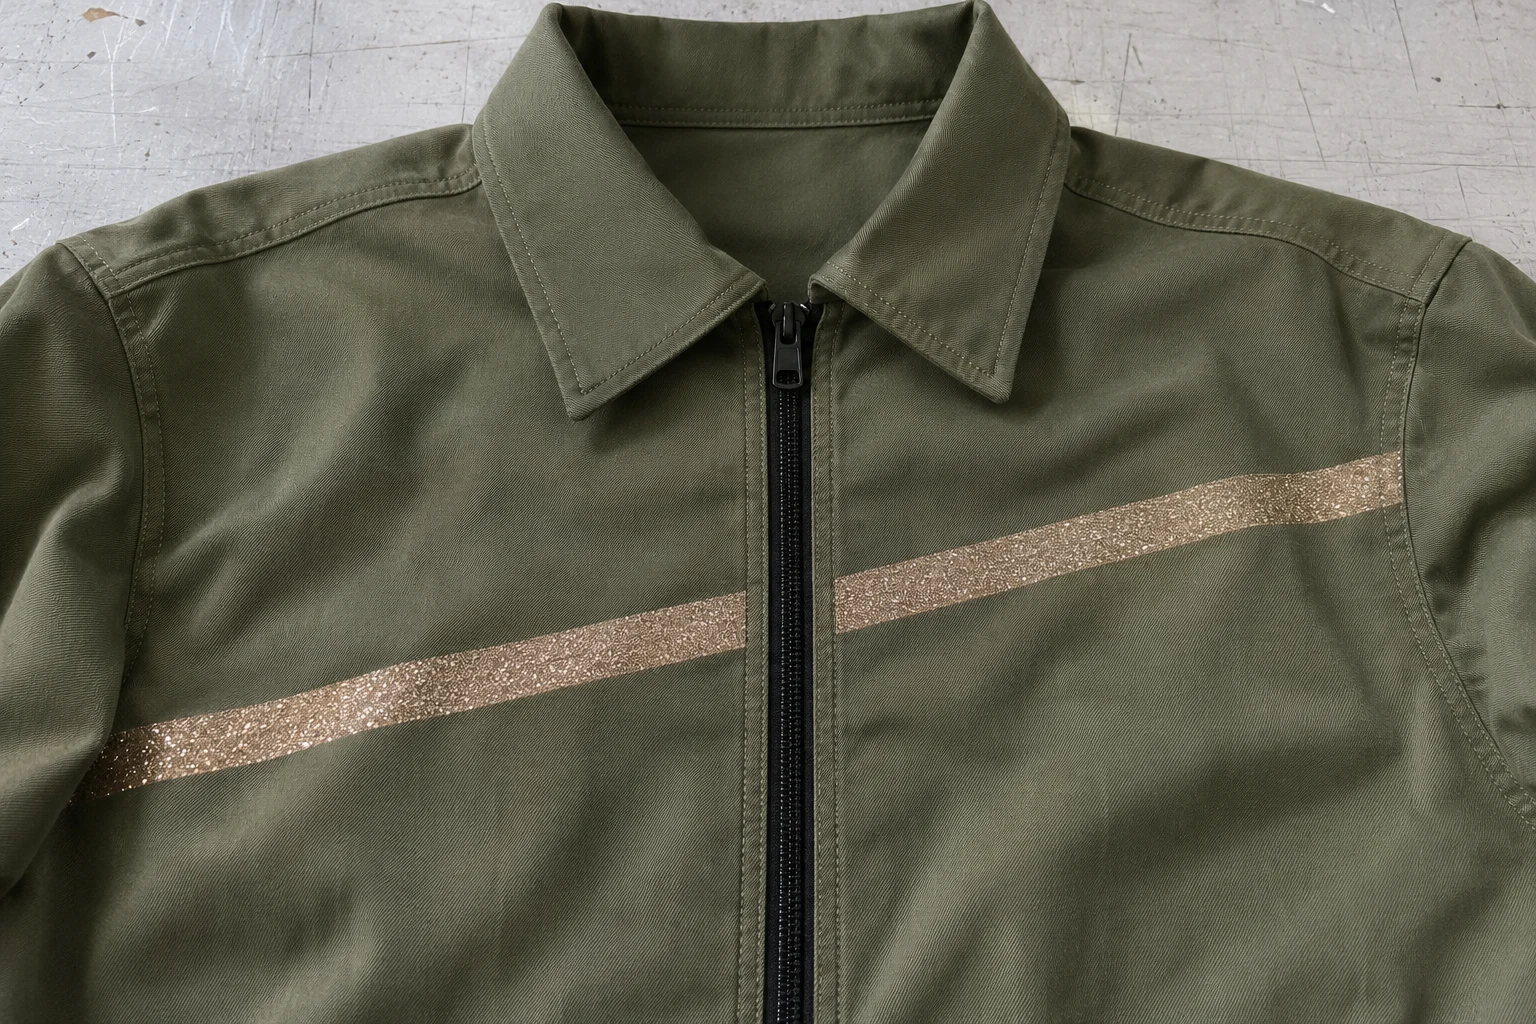
Map the cut edge, stitch line and visible finished edge before placing a glitter motif near a seam or a fastening. Reference the artwork to the edge that will actually be visible. Identify where the slider, overlapping placket or lining can move or come into contact. Then inspect a sewn sample made with the intended cloth and fastener, both open and closed. A motif positioned correctly on flat panels can become partly covered or finish at different heights once the garment is assembled. Choose the plain gap based on the pattern and fastening as sewn, and record which feature you measured from.
Consider a muted copper glitter line crossing the chest of an olive zip-front jacket. The front uses two separately printed panels. The line is intended to read as a shared diagonal while stopping short of the stitching on each side. Its ends can appear to line up on separate cuttings and still sit differently after one front has been sewn a little higher. Plan the closed front first, then show how each panel relates to that view. If the interruption is part of the design, use the sample to approve the width and shape of the interruption in the position the garment will be worn.
The cut edge is the edge of the piece before assembly. The stitch line is where it will be joined. Part of the fabric between the two can be turned inward or covered. The finished edge can sit elsewhere depending on folding, topstitching or the type of closure. Identify these references in the pattern. If the visible edge of the zipper tape is the point used to set the print, indicate that on each panel and on the closed drawing. A dimension from the cut edge is useful for production when it is mapped to the part of the fabric that will remain visible.
Choose the same height references for both panels. The finished collar point, pocket edge or a marked chest line can help match the position across the fastening. Clarify that left and right are defined from the wearer's side. Include the slope and the endpoint of each printed piece as the motif approaches the zip. A mirrored shape with equal-height ends and a single diagonal with staggered ends can both be deliberate. Indicate which result the artwork is meant to make on the closed garment. The finished front view gives the cutting and stitching teams a shared picture of how the individual placements should be read.
Look along the full length of the closure before choosing where to leave the fabric plain. Near the top, the collar and zip guard may add thickness. At the bottom, a fold or stop can change the visible edge. A motif concentrated at the chest might need attention at only one point. A repeated motif along the entire front may need checks near both ends as well. For a buttoned placket, draw both surfaces and indicate which one covers the other. A motif that seems full on an open panel can lose part of its shape in the closed position. Inspect the appearance in the position that matters for the product.
A slider needs room to travel along the zip. That space depends on the fastener, tape, stitch placement and layers around it. Confirm the construction requirements for the actual zip with the production team. On the sewn proof, watch whether the lining or folded fabric enters the slider path and how the bare fabric looks on either side. A trim line that is well clear of the zipper teeth in a drawing can still sit beside an inner layer that catches as the garment closes. Operate the actual fastening as intended before approving the print's position around it.
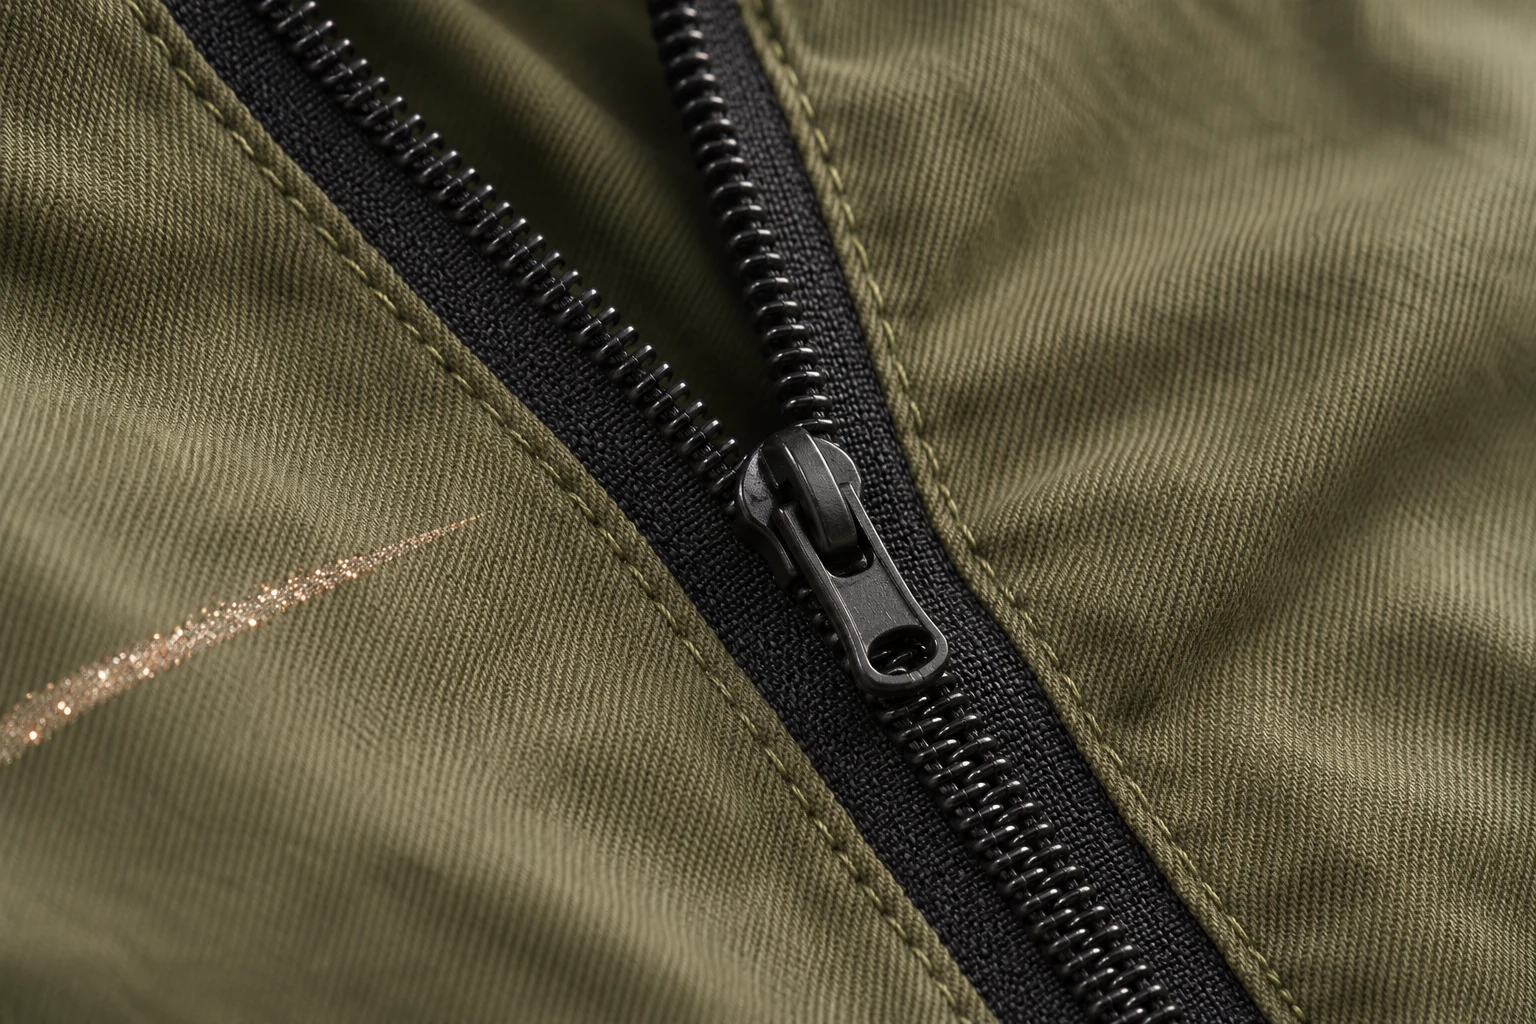
For snaps and buttons, look at the outside face and the surfaces that meet underneath. The garment can look clean from the front even when the decorated section folds inside and comes into contact with another layer. Open the placket and see whether the line turns inward or is partly covered by the overlap. Note the place where a hand regularly holds the garment to open it. If the contact matters, compare a proof with the line moved slightly back or with the motif divided before the fastening. Use the same construction so the team can see what the placement change does.
If the closure binds, review the mechanical construction first. Lining, stitch position or uneven assembly can cause a problem even on an unprinted piece. A plain sample sewn the same way can help locate it. Avoid forcing the slider to complete the comparison. Check whether the fabric has entered its path and whether the two sections sit in the intended positions. Record any concerns about glitter touching the tape or facing in addition to the behaviour of the accessory. That gives the production team two clear observations when a fastening issue and a print placement question arise on the same sample.
For direct printing before assembly, decide whether the design is placed on cut panels or on larger pieces that will be cut. In either case connect the production reference to the finished garment. The printer may work from a top marking, while the sewing team matches notches on the front. Show both where the motif should finish on the prepared piece. If the print approaches a turned edge, sew the part with the same fabric and seam construction as the finished garment. The completed piece will show whether the print is still visible and whether the folded area feels acceptable in use.
For decoration applied after assembly, review whether the surface and nearby hardware suit the intended process. In a heat-transfer system, raised stitching, zips and buttons can affect contact and pressure across the transfer area. The equipment and transfer system determine how to manage that. Direct screen printing has its own requirements for the print surface and stencil. Confirm the process for each motif that approaches a seam. Show the printer the assembled piece as well as a flat drawing, and keep the accessory reference with the trial. A useful proof links the planned sequence to the appearance the team finally sees.
Lay the sewn garment flat and close it. Compare the ends relative to the same reference on the chest. If the two ends should sit at equal heights, mark those points. If they form one diagonal across the front, follow the imaginary line through the plain gap to see where it should meet the opposite panel. Ends at the same height may suit a mirrored shape. A single sloping line can call for the two ends to sit at different heights to read as one. A tracing at the scale of the finished front can help distinguish the intended offset from a placement error.

If an endpoint appears out of position, review the flat printed panel and the assembled panel. Check that the print was placed at the intended point, then see how much of the panel has turned inside and where the finished front actually meets. A pocket line or another shared marking can help distinguish a change in the print position from a difference in assembly. Mark upper and lower points if the discrepancy varies along the zip. A change at one end can reflect the way the fabric sits around the closure. Keep a first sample and adjust the likely contributor in a second proof so the effect can be checked directly.
Open the zip and look at the fold, facing and inside surfaces. A narrow area hidden when closed can be more visible when the front is worn open. On an overlapping placket, the upper fabric can hide a considerable portion of a motif on the underlap. Decide which view leads the design and make sure the other view is acceptable. Put the jacket on a form or hold it in the intended wearing position. If the line shifts when the lining is in place or the garment moves, record which position showed the effect. A table view is useful for checking layout and can be kept beside the view in use.
The seam allowance and the visible gap describe different measurements. The seam allowance belongs to the cut pattern. The gap is the strip of fabric visible after the closure is built. Measure the gap to a defined edge, such as an outer topstitch line or the visible tape edge. Keep the same reference in the artwork note and finished sample. If the plain area looks too wide, verify whether both sides actually need the same change. With a placket that covers more on one side, a different placement can be needed to achieve the intended balance in the closed view.
If the print repeats along the front, check more than the section where the zip runs straight. At the collar or hem, an extra cloth layer can change the way the fastening sits. Mark which part of the layout needs a larger plain area and compare that section separately. A local change may preserve the placement on the rest of the garment.
Review any places where the printed area touches a facing, lining or another panel during opening, folding or wearing. The fastening mechanism, the visible print and the wear between surfaces each deserve a specific observation. A workshop proof can identify contact points for a follow-up check. Where the project calls for a measured rubbing, adhesion, care or fastening result, agree on what will be assessed and under which conditions. Indicate the contact surfaces themselves. The model of the fastener and the expected movement can matter if the same motif is later applied to another garment.
Record the cloth, trim reference, print process, pattern and artwork versions, date and size. Include the point used to measure the clear gap. Keep either the complete sewn proof or the relevant front section. A short statement such as “the endpoints align with the chest reference when closed, leaving plain fabric before the zip topstitching” can guide the next review. Include a full view and a close view of the gap. If a different tape width or another size changes the front panel geometry, check the agreed detail again. Scaling the whole motif can move both its angle and endpoint even when the fastening is unchanged.
At the final review, compare the closed appearance, the visible inside surfaces when open and the places that meet during fastening. If a second layout is needed, keep the first proof and note whether you moved the line, changed the gap or altered the assembly. The comparison of glitter and foil printing on fabric can help when choosing a finish. With glitter selected, make the placement decision on a sample with the actual cloth, sewing and closure. That piece gives the team a reference for how the motif reads and how far it sits from the areas that need to move.
phone: +90 212 576 5250
fax: +90 212 493 0336
email: info@unlutransfer.com
Yenidoğan Mah. Eser Sok. No: 6-8
Bayrampaşa, 34030,
Istanbul / Turkey
TR 9150171175
Bayrampaşa Tax Office