For quick contact: +90 532 288 2200


Check the repeat in the artwork, then position the pattern pieces so that the relief meets at the same points along the finished seam line.
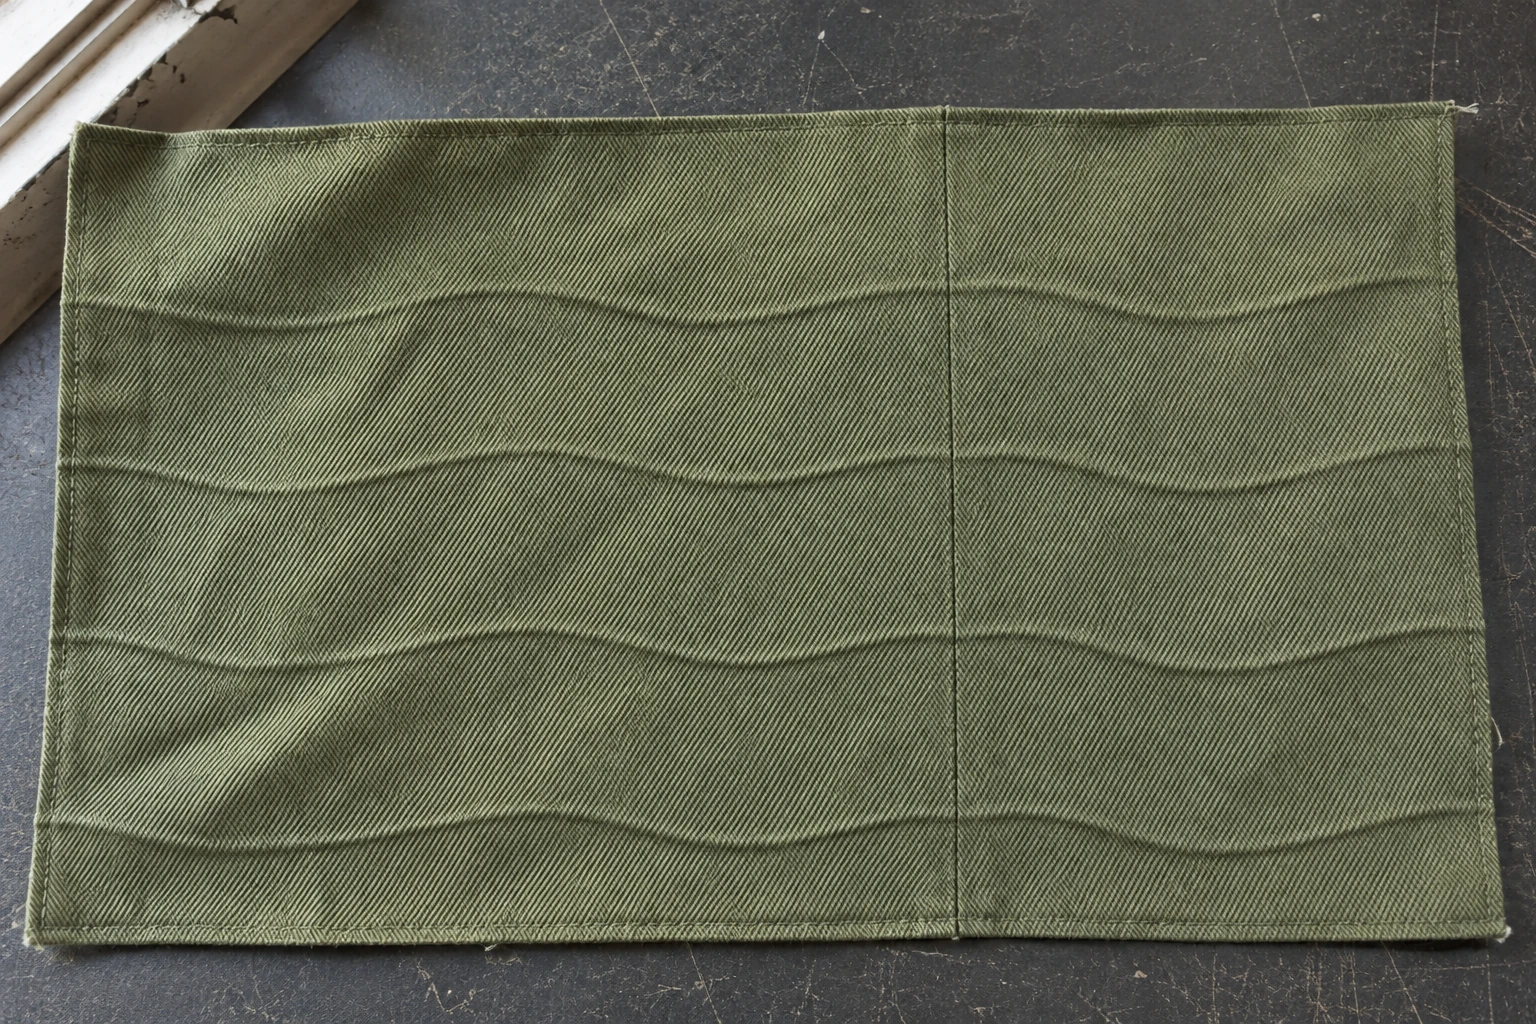
To match an embossed pattern across a seam, first check that the motif repeats cleanly on flat fabric. Then position the two pattern pieces so that corresponding contours meet at the finished seam line. Mark where the motif crosses that line on each piece. Fold away the seam allowances and put the right sides next to each other in their finished orientation. Check the position, direction and spacing of the lines as they reach the join. Repeat the check on a sewn sample held in the shape it will have in use. The seam may still be visible while the motif appears to continue across it.
Imagine shallow waves on an olive-green fabric. Where a ridge curves upward and reaches the seam from the left, its continuation on the right should leave the seam at the same height and follow the same curve. If the repeat has rows of different heights or intervals, one apparent match can be misleading. Find a recognisable crest or cluster, then follow the next two or three ridges. This lets you compare both the individual crossing and the sequence around it.
A repeat unit is a section of artwork placed beside or after copies of itself to cover a larger area. If a contour leaves one edge, the adjacent copy needs a corresponding contour at its joining edge. Preview several copies at the intended scale and orientation. Use the specified row offset if the repeat is staggered. See where the ends meet. Compare the width of the line, its direction and the sections where the relief starts or ends. A slight shift that is hard to see in the single file may form a regular break when the unit is duplicated.
Place the copies edge to edge in the preview and check whether apparent white margins belong to the design. If the contour ends before the edge, two disconnected tips can appear at every interval. If its continuation starts higher up, the line can appear to step at that point. Compare a similar line away from the repeat boundary. Mark the warp and crosswise directions on the artwork or accompanying plan. On a flat fabric trial, find the same boundary and check whether the contours there look like the lines in the body of the design. Ask the supplier how the repeat is carried by its tooling if you see a break on the cloth.
The product seam is where two cut pieces meet. It can sit anywhere within the fabric repeat. Two panels can be cut from the middle of the same roll and still show a visible jump at the seam if one starts at a different point in the motif. Conversely, two panels can be matched at the seam while a line in the fabric repeat remains visible farther along the panel. Compare the joined piece with an uncut sample from the same run. A line that appears repeatedly on the uncut cloth takes you back to the repeat layout or material trial. A difference you see only at the join calls for a check of panel placement and assembly. Record where each difference first appears if you find both.
Show the cut edge and the finished stitching line on both pattern pieces. Imagine leaving a 12 mm seam allowance on each panel. The height of the wave at the raw edge can differ from the height 12 mm farther in. If the ridges look aligned at the raw edges, the match may disappear when the allowances are turned to the back. Work from the line and the fabric surface that will remain visible after sewing.
Select a point where a distinctive wave reaches the stitching line and mark it on both pieces. Use the next wave as a second check. Put the fabric face, grain direction and the finished top of each piece on the layout. Verify which piece must be mirrored. A left and right panel can require mirrored templates while the fabric itself needs to run in the same direction on both sides. Turning a pattern piece to find a match can change the way the lit surface looks. Try shifting the piece along the cloth while preserving the required grain and direction.
Measure the distance between the same points in successive repeats on relaxed fabric. With alternating narrow and wide spaces, the true repeat starts where the full sequence starts again. The distance between two adjacent lines within that sequence can be a different measurement. Attach the first crossing to a common product reference, such as the top of a pocket opening or the start of a side join. Measure the second point along the actual seam line. On a curved seam, a straight measurement between the endpoints will not tell you how far along the curve a crossing falls.
Review all pieces in the cutting layout. Moving a panel by part of a repeat may change the space available for another piece and affect a second seam on the first panel. Mark the joins with the greatest visibility or the strictest match requirement. For a bag with front and side joins, lay out both together before choosing a position on the cloth. If a large repeat limits where pieces can fit across the usable width, compare a second layout and check the target joins again. Record which layout you used for the sample.
Mark the stitching line on a paper template and transfer the motif crossing to the trial cloth. Fold the allowance back at that line. Set the two faces next to each other with the fabric pointing the way it will lie on the product. Find the crest that reaches the seam and its counterpart on the other panel. Two lines can meet at the same height but turn in different directions immediately after the join. Follow a few lines from one side to the other to check their direction and spacing. Keep those design references alongside the notches or alignment marks defined by the assembly drawings.
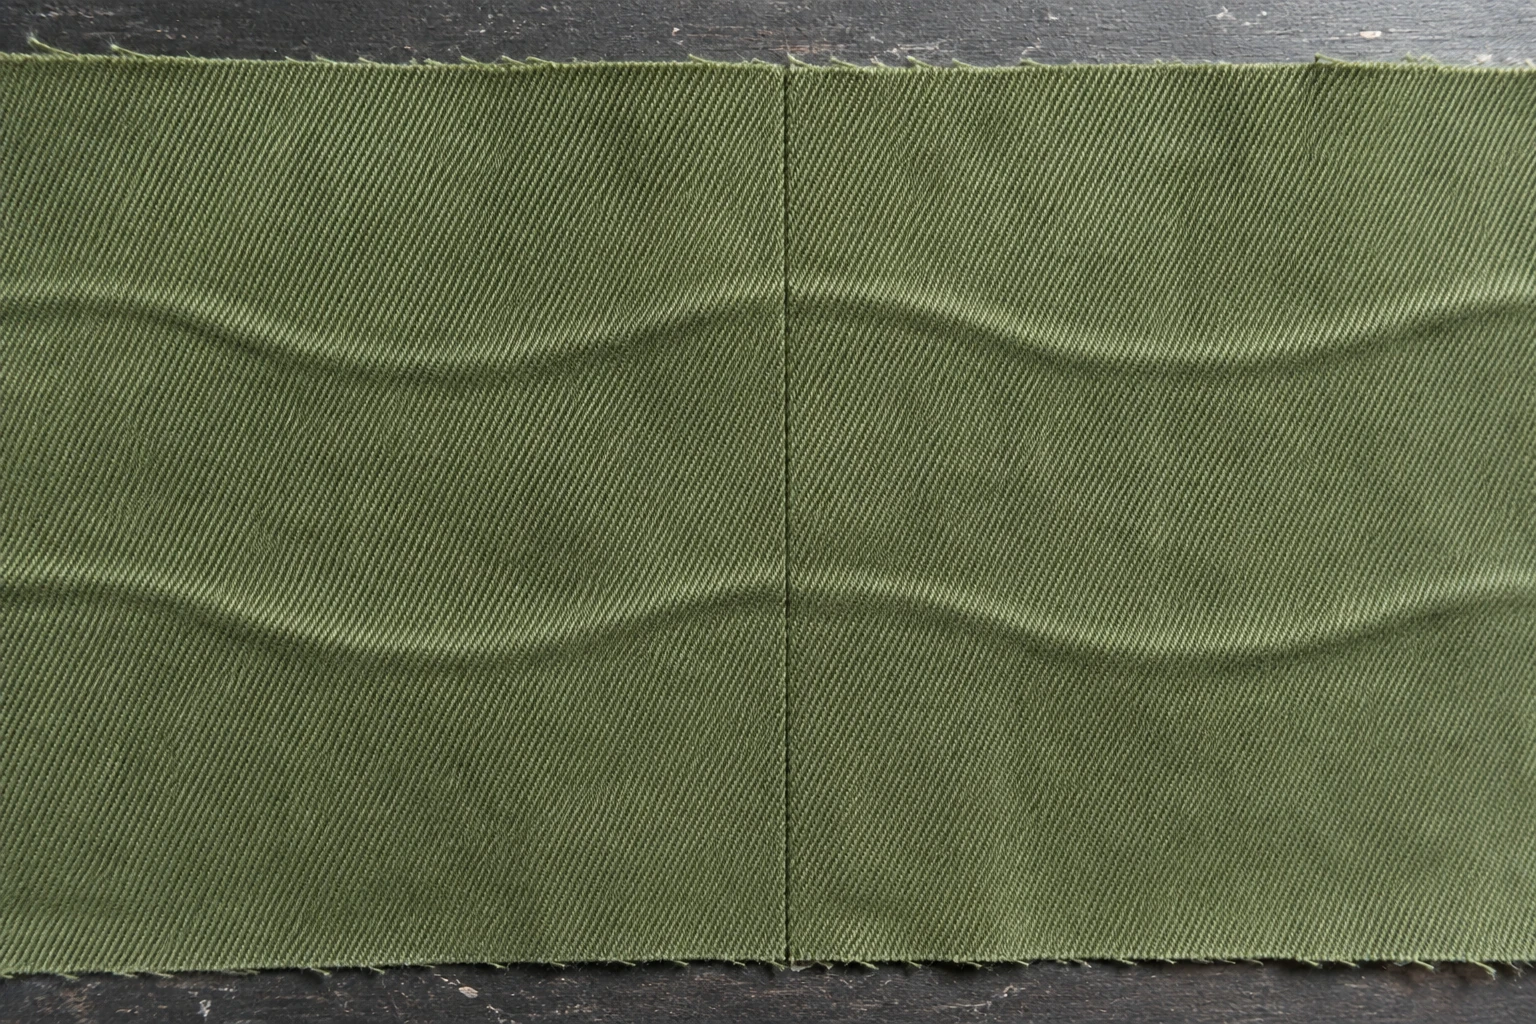
A straight trial seam laid out on a table makes changes in alignment easy to notice. With an angled or curved seam, the full pattern may be difficult to match at every point. Decide which visible crossing needs the closest match, then check how the motif moves toward both ends. If the important feature could sit away from the steepest part of the curve, discuss that placement before cutting. Keep a photograph of the two pieces in their finished orientation so it is clear where a later sample should be compared.
Let the pieces rest naturally during the trial. A match that appears when one side is pulled may disappear once the tension is released. Set the pieces down as they will lie for the cut and compare the relief under the same light on both sides. When marking more than one layer of cloth, verify the orientation and repeat position beneath the top layer. The line you can see on the upper piece does not establish where the line on the lower piece will fall. A single-layer trial can make it easier to check each piece against the planned motif position.
Sew a test join from the same cut layout and fabric. Start at the reference wave and check several crossings along the seam. If the first crest matches and later ridges begin to separate, record the points where the difference appears. Take measurements from the same reference direction for each piece. Then bring unsewn trial pieces together at their stitching lines and check the corresponding crossings. If you see the offset before sewing, check the layout and cutting. If the lines meet on the separate pieces but move apart during assembly, check where the seam was sewn and how the pieces fed and settled.
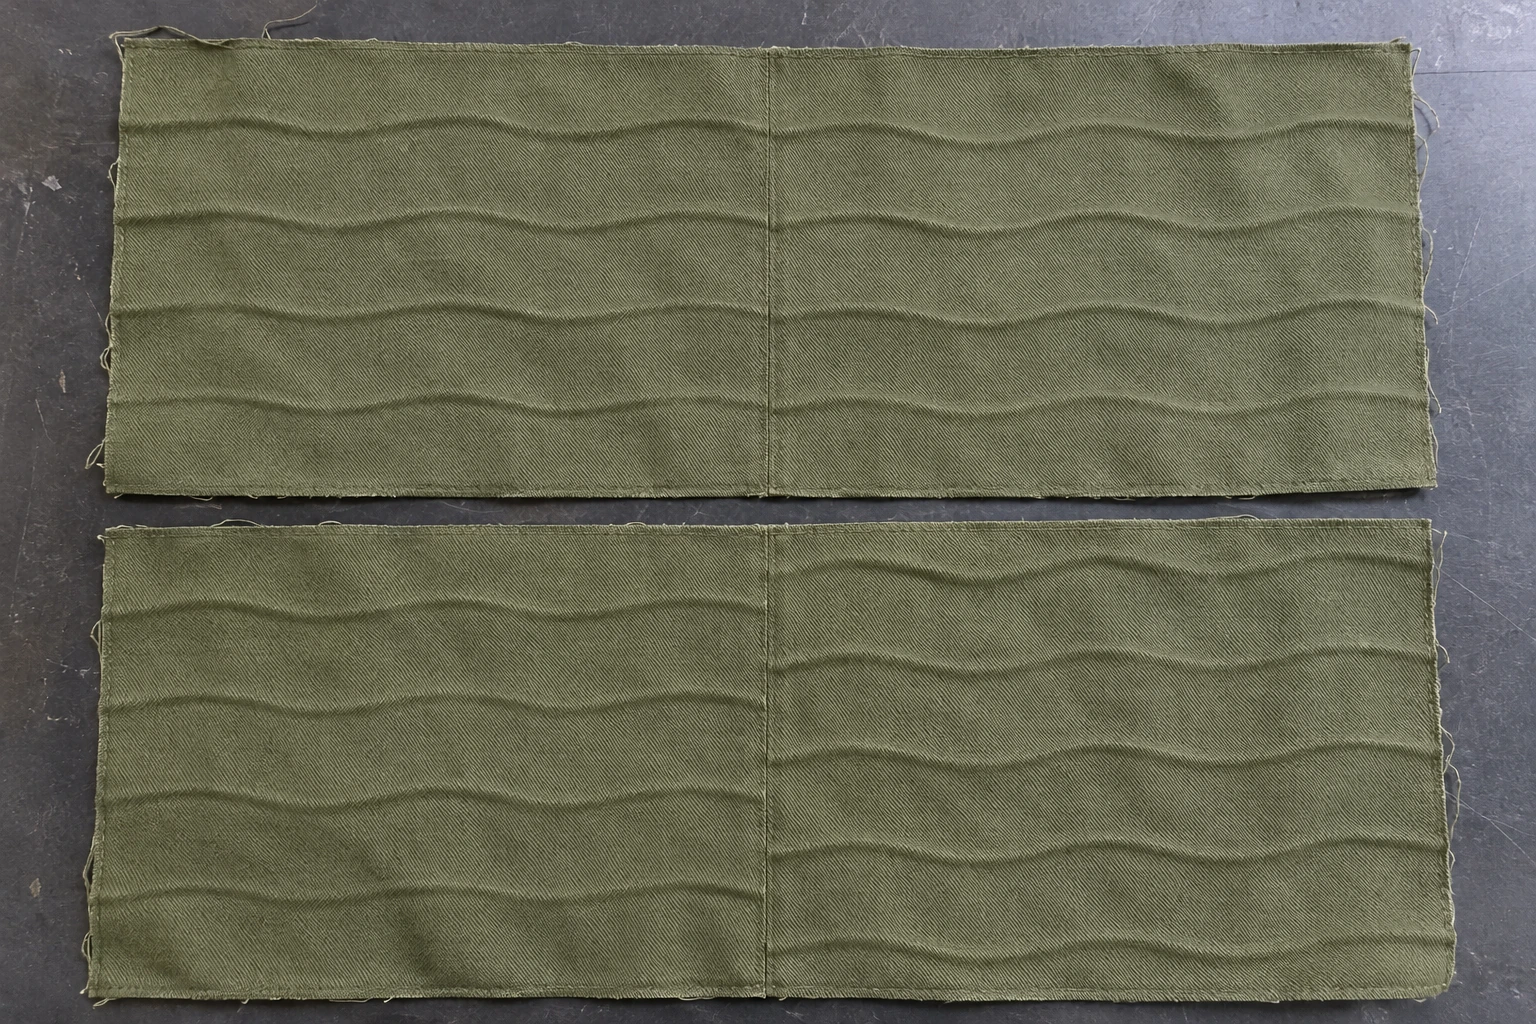
Record the seam shadow and a shift in the motif as separate observations. Directional light can make the join darker even when the ridges meet. Look under diffuse light and turn the sample into the position from which the product is usually seen. If the same ridges still meet on both sides, record how the seam appears under each light. If the rows remain aligned but the relief becomes shallow close to the join, note where that change begins. It is a separate question about the height of the surface around the seam. Compare a view taken before sewing and another after assembly to establish when the change appeared.
Check the sewn sample flat and in a shape close to normal use. A supported bag panel may curve once assembled. As the fabric turns, the ridges can catch the light differently. For a seam with a visible curve, look at the whole join from the expected angle, then examine the crossing in detail. Save the wider shot and detail under the same sample code. Where a narrow panel has joins on both sides, inspect its grain direction and the motif at both boundaries. A change that helps one join can offset the match on the opposite edge. Keep track of which pattern version you assessed and which join took priority.
Record the fabric reference, right side, direction, artwork version, pattern piece identifiers and checkpoints along the finished seam line. Keep an image of the flat repeat, a cutting layout and a photograph of the right side of the sewn sample. If the allowance changes, return to the new stitching line and review the match. If you only checked a particular join, name it. A front panel and a pocket opening may have different curves and different surfaces around them. Check the relevant pieces individually when both joins need matched relief.
Keep the paper template with the trial, including the mark for the first crest and the direction of the fabric. A short observation log helps when a correction is needed. Record that the first wave joined at its marked point, the right panel sat higher at the next wave, and the change was visible after sewing, for example. Note the direction from which you measured and where you started. If you are still investigating why a ridge has moved, keep the description to what you observed. Use a photograph that shows which edge is the top of the product. Pair it with a close view of the crossing. This lets another person find the same points in the next cut.
Send separate views of the flat repeat and the product seam to the people preparing the artwork, cutting the fabric or sewing the parts. In the first view, show several repeated units, the layout direction and the boundaries you checked. In the second, show the cut piece, the finished stitching line and the places where lines should meet on its neighbour. If the fabric batch, repeat dimensions or paper pattern changes between approval and production, compare the first new seam with the approved sample at those exact crossings.
phone: +90 212 576 5250
fax: +90 212 493 0336
email: info@unlutransfer.com
Yenidoğan Mah. Eser Sok. No: 6-8
Bayrampaşa, 34030,
Istanbul / Turkey
TR 9150171175
Bayrampaşa Tax Office