For quick contact: +90 532 288 2200


Check the marked area flat and at an angle. Record how the mark follows a fold, whether a line stays in place and how a dull area reflects light.
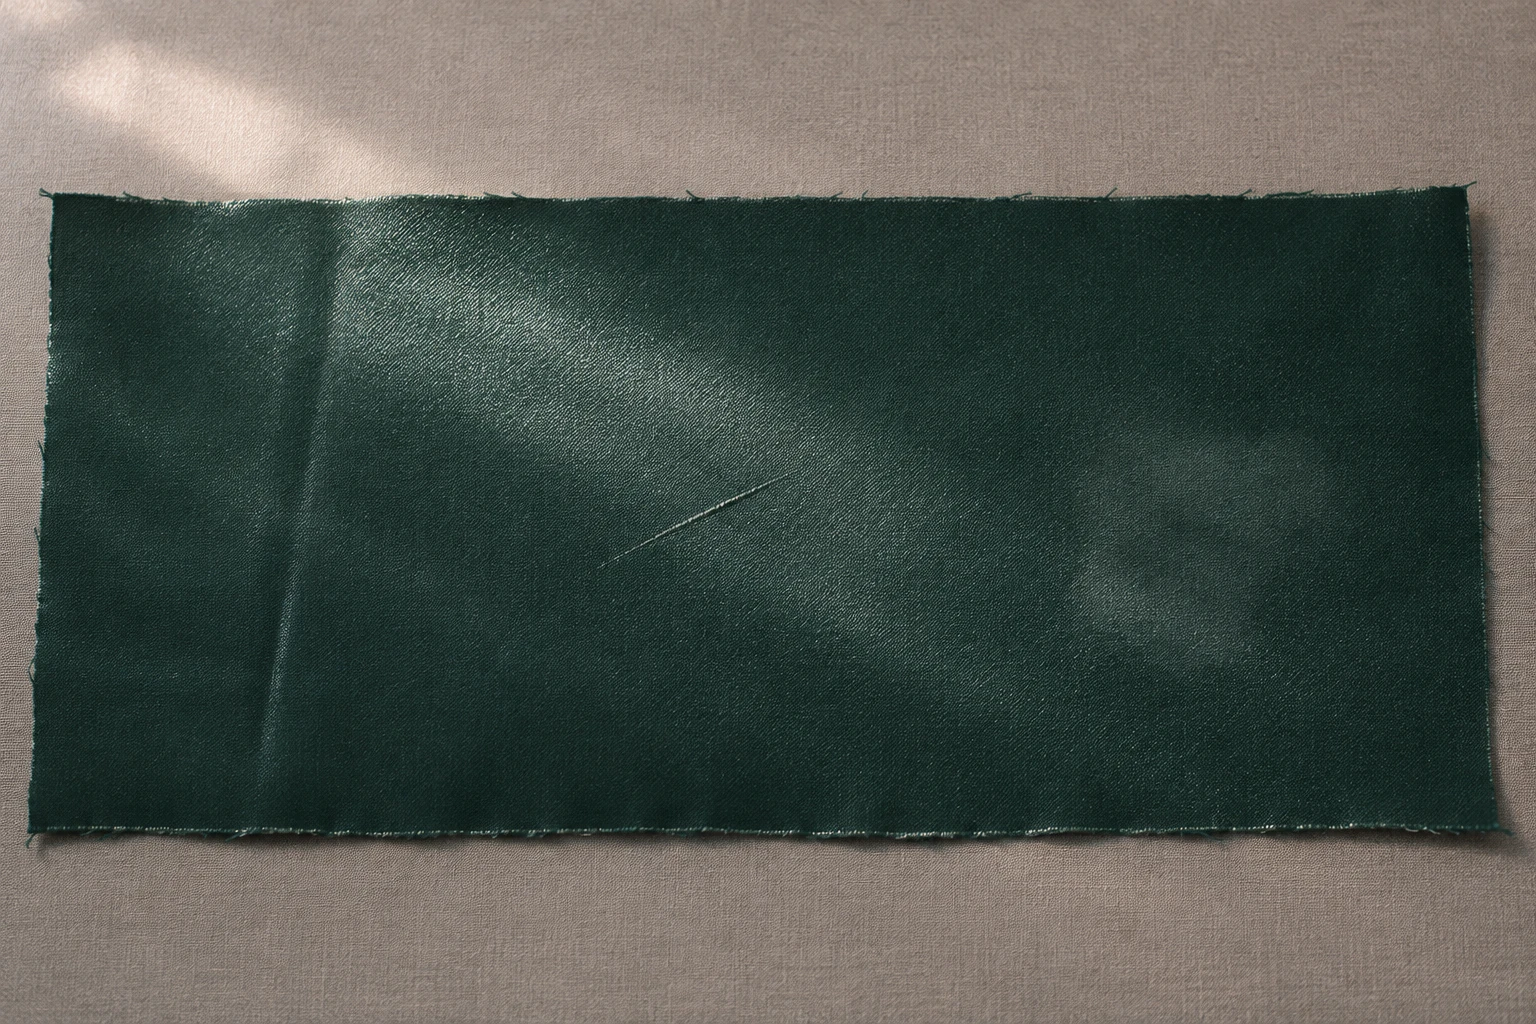
Start with the glossy fabric flat and free of tension. Record where the mark sits, then change the direction of the light or the view. A crease mark often follows the line where the cloth bends. See how much of that line remains when the fold opens. A possible scratch can appear as a narrow line that stays in the same place, even when the angle makes it stronger or weaker. A dull patch usually covers a wider area. A reflection that looks sharp on the surrounding fabric may look softer or weaker there. Record these as visual observations. To investigate the cause, compare an unaffected piece and ask how the cloth was processed, packed or used.
Imagine a deep teal glossy fabric with a long fold near one edge, a short diagonal line nearer the middle and a broad area of softer reflection. Under light from the side, any of the three can become lighter or darker. Follow the contour of the cloth at the fold. Check where the short line starts and ends. Watch how the wider patch changes the shape of the reflection. Tie each observation to a spot on the cloth and compare it with a nearby area under the same light.
Make the first record before moving the piece more than necessary. If the fabric arrived folded, note where the folds fell and which face was exposed. If it came on a roll, record the visible outer layer and its orientation. A reflection on the folded fabric may change when you lay the piece flat. Photograph both states with the same sample identifier. If you received the piece already cut with no record of packaging or storage, state that in the notes. It matters if you later investigate where the marks appeared.
Choose an edge as a reference and mark the location of each feature. For example, a line might start near the top and run toward one short edge. Put a scale next to the cloth without pressing the mark. For a broad dull area, describe where the effect is strongest and how far it spreads. Record the visible face, grain or roll direction and the position from which you looked. Keep a full view and a close view linked by a common edge or another feature.
Keep a small sketch of the cut piece with the suspect area on it. In the first photograph the mark may be obvious because it lies near the edge of a reflection. In a second view it may fade, even though the edge of the cloth has stayed in place. A wider view that includes two recognisable edges helps the next reviewer set up the same inspection. Include the roll or cut-piece reference if it is known.
If possible, select an unaffected piece of the same fabric. A nearby section of the same roll makes a closer reference than a different cloth. Record whether the material comes from the same lot and has the same finish. Set the pieces on the same backing and orient them alike. If the original cloth has lighter or darker areas depending on the light, mark those too. Photograph any relevant packaging fold, tag or contact point alongside its position on the piece. These can guide a follow-up when the origin of a mark is still unclear.
Check whether several pieces show a mark in the same position. A long line at the same folded edge on each sample forms one pattern. A group of short lines in different directions forms another. Keep separate records when both occur on a single piece. If you need to cut a smaller specimen, retain the mark and enough unaffected material beside it to compare the two. First take a photograph that shows how the area sits in the full piece or roll.
Identify where the cloth changes direction. Put the fabric down and let the fold open without pulling it flat. Note whether the line becomes lighter or whether the reflection changes position. A raised or sunken part may still cast a small shadow under low side light. A physical bend can remain even if the line looks much weaker from a particular direction. Use the edge of the cloth as a reference so you can return to the same line.
Look immediately after opening the fold and again after the cloth has rested. Record the time of both observations and give comparison pieces the same interval. One cloth may lie flat quickly while another retains a line. Describe what happened within the conditions you used. If you need to compare results later, retain the amount of time and the shape of the support with the photograph.
Move the light to the opposite side. A fold can show a bright edge and a darker side. If those sides trade places, the shape of the cloth is contributing to the appearance. If a faint band remains after the cloth lies flat, record it separately. Look at the reverse too. Some folds are visible from both faces. On some glossy cloths the front reflection changes more clearly than the back. A fold can relax and leave a duller surface in the same spot.
When the fabric naturally bends in the finished product, try the same spot on a similar support. Note whether the highlight moves across the curve while the recorded line stays fixed. Keep the first specimen in the condition in which it was examined. Heat, pressure or cleaning may change the surface. If a treatment needs to be assessed, set aside a separate piece and use conditions appropriate to the confirmed finish.
Locate both ends of a possible scratch and the fabric around it. Start with a diffuse view and then light the cloth from one side. Keep the cloth still when changing the light direction. Even if a highlight hides the line, return to the ends you marked. If you can find the line in the same position after the reflection moves, record a fixed surface mark. A close view can help trace its boundary. The depth and cause require further assessment if they matter for the decision.
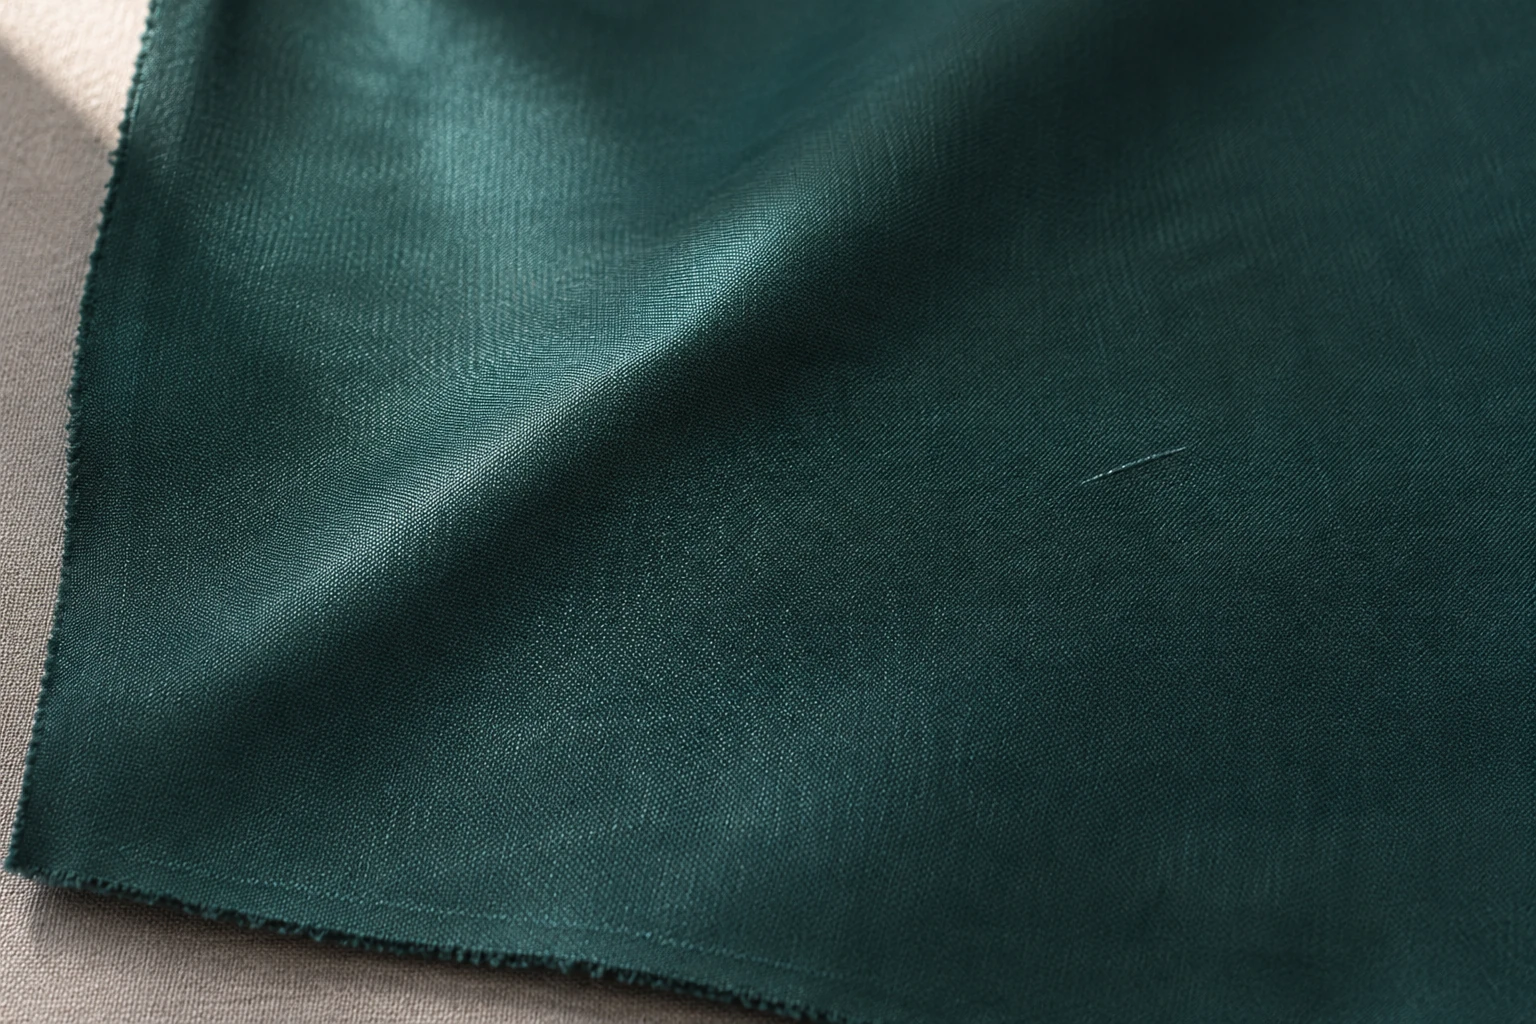
Look at the weave around the line. Some yarns can look lighter from a particular direction. If a similar line appears regularly farther along the cloth, note the spacing and direction. Include the stronger part of a line and its continuation in the same photograph if you can. A scratch can cross the yarn direction and have ends within the cloth. Use the direction as one clue alongside position and comparison with the neighbouring material.
Include an area of plain fabric in the close view. If the line fades when it falls outside the highlight, check the physical piece again. Heavy sharpening can make fine strands more prominent. Examine the surface under side light or with a magnifier if useful. Keep the ends and the grain direction in view for the person reviewing the mark. When multiple short lines are present, give each its own reference. Two nearly identical marks can run in different directions. A line that repeats across a longer length warrants a different follow-up from an isolated mark on one cut piece.
Find an edge of the reflection and slowly tilt the cloth so the highlight travels across the area. If the surrounding cloth reflects sharply and the marked spot keeps a softer or weaker reflection, write that down. Dulling can have a diffuse border and may be visible only from some positions. A small rise in the fabric can also shift or spread a highlight. Examine the cloth flat before checking how the same area looks on a curve.

Compare the patch with nearby fabric in the same view. If one area receives more light or the photograph renders it brighter, that can affect the result. Change the angle and watch whether the dull-looking area moves with the highlight. If the weaker reflection stays in the same place, record it. Then examine the cloth under the lighting expected in use. Keep the marked area and the surrounding surface in the same photograph where possible.
When comparing two swatches, exchange their positions without turning them. A piece closer to a window may appear brighter for that reason alone. Match the backing and cloth shape on both sides before comparing. A tilted view shows how the reflection moves. Finding the effect again on the same part of the physical sample provides a firmer basis for reporting a difference in the surface.
Describe colour and gloss separately. If the patch appears lighter in diffuse light, record the difference in apparent shade. If the base colour looks similar but the highlight spreads or loses definition, record the difference in reflection. Dust or a contact residue can also affect appearance. Photograph the initial state and look for evidence of contamination. Check the appropriate care information before trying to wipe the area. Preserve the original sample for later review.
Record the location, direction and size of the mark, the shape of the cloth and the lighting under which you saw it. A fold observation might read “the line followed the side edge, faded when opened and was still visible with low side light.” For a short line you might record “the contrast weakened, and both ends remained at the same locations.” For a larger patch, describe how the highlight looks when it reaches the centre. Keep the first and second viewing angles with the images.
Write the observation before listing possible causes. A line at a known packaging fold may guide the investigation. A mark in the same position on another piece may call for a check farther along the roll. An area that seems dull only as it curves may need to be examined on a flat support. When the origin is unclear, compare an unaffected part from the same material and preserve the initial photographs. Record the date and conditions of the second check separately.
When the initial and later views are taken at different times, record how the cloth was supported between them. A sample draped over a narrow bar can show a different crease than one resting on a flat table. Keep the two states apart in the notes. When you need another opinion, show the overall appearance at the expected viewing distance before pointing out the close detail. This establishes whether the mark needs attention in use or only becomes visible under examination.
Ask the supplier for the packaging, handling and finish information associated with the sample. Return to the same location on another piece if one is available. If the next question concerns performance in use, select a flexing or abrasion test suited to the actual construction. An initial visual check can identify which feature to examine and where. Use the supplier's or lab's result to answer the separate question about durability under the chosen conditions. Send the sample identifier, marked location and views with the request so everyone examines the same feature.
phone: +90 212 576 5250
fax: +90 212 493 0336
email: info@unlutransfer.com
Yenidoğan Mah. Eser Sok. No: 6-8
Bayrampaşa, 34030,
Istanbul / Turkey
TR 9150171175
Bayrampaşa Tax Office