For quick contact: +90 532 288 2200


Use dry and wet rubbing results to assess colour transfer from a dark pigment print to a light fabric before approving a production sample.
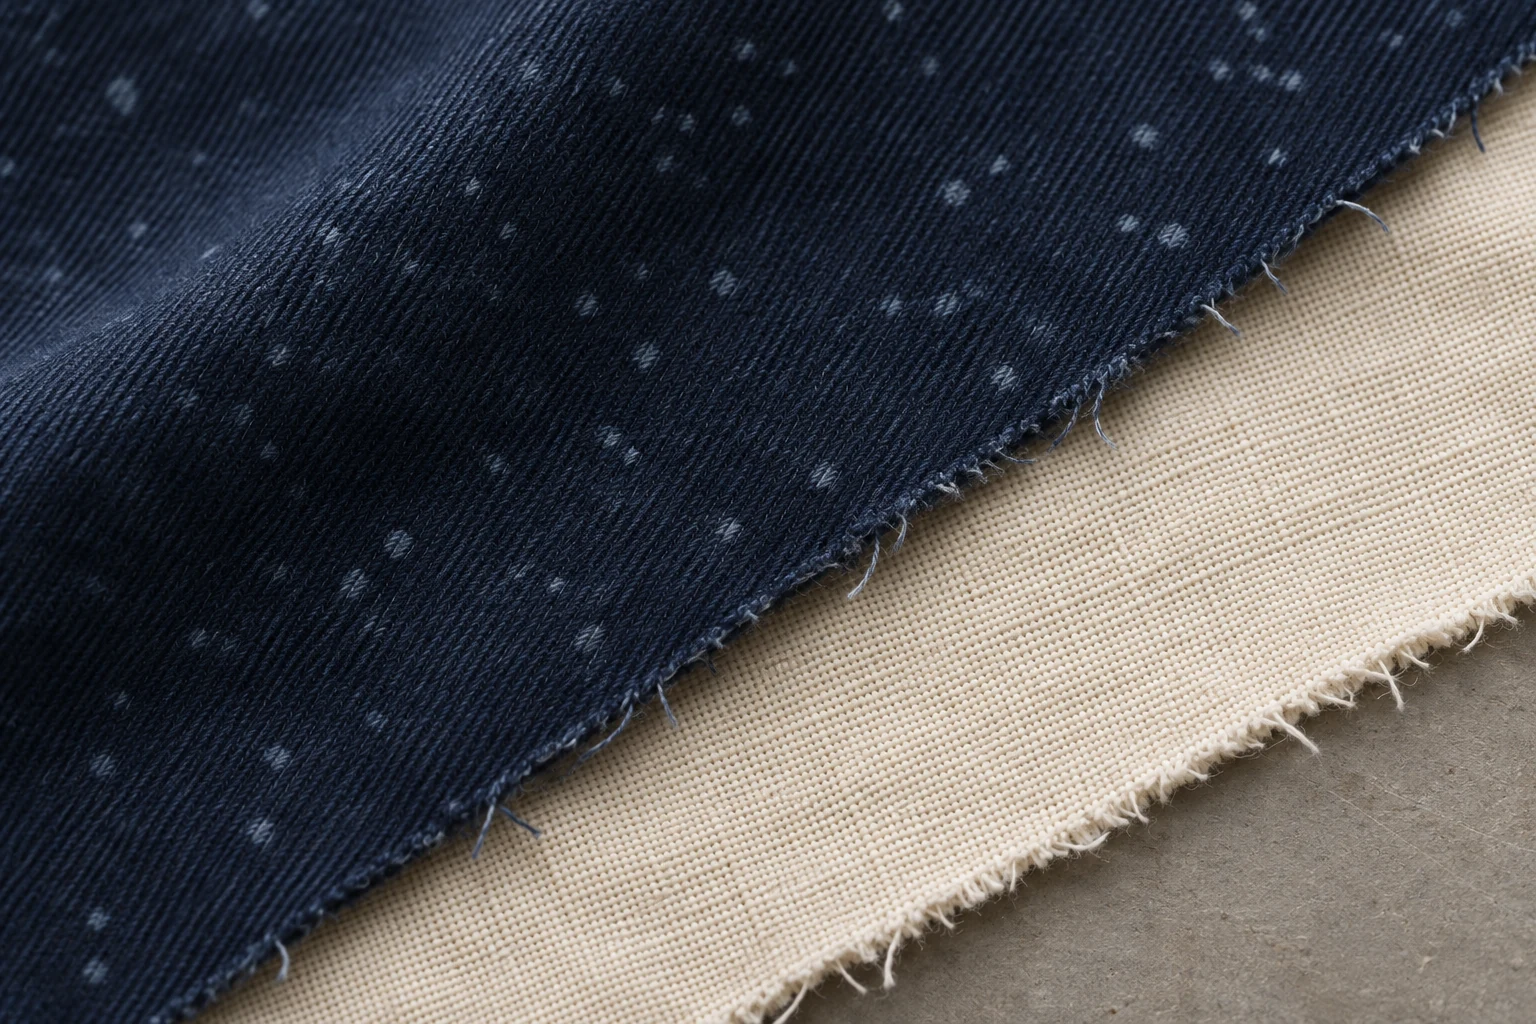
Read the dry and wet rubbing results separately. The dry result tells you how much colour moves from the printed surface onto a dry rubbing cloth. The wet result tells you what happens when the cloth is moistened with water. In both cases the immediate observation is the staining of the white cloth. A change in the appearance of the printed fabric is a separate observation. Before approving the sample, work out which light-coloured materials will touch the print in the finished product.
Consider a navy jacket with an ivory collar facing. The outer fabric can look even and clean when laid flat. At the collar, the two fabrics move against each other as the wearer turns their head or opens the jacket. Put the same print on the outside of a bag and the contact changes. The bag may rub against a pale shirt or coat even if every fabric in the bag itself is dark. Start by identifying the real contact, then use the test to assess whether the sample works for that use.
A rubbing test uses a white cloth to pick up colour from the printed specimen under controlled conditions. The stain on the white cloth is assessed against a grading scale. The dry and wet determinations use separate cloths. When comparing reports, check the test method, the face of the fabric that was tested and the print area selected for the test. Two identical grades can describe different samples or different conditions.
Check whether the grade applies to one colour or several prints. On the report, look for the fabric and lot codes, the specimen direction and any prior finishing or care. Use these details to reproduce the comparison on the next batch.
Keep the dry and wet grades on separate lines, especially if the two conditions have different acceptance criteria. For a multicolour print, identify the colour area behind each grade. A small placement drawing allows the design and quality teams to find those areas again on the production artwork.
Water in the rubbing cloth can change the outcome. Read both results before assuming how a dark print will behave when damp. If the grades differ, pay particular attention to parts of the product where moisture and movement can occur together. If the dry result is the greater concern, check that the specimen was taken from the intended area and see whether the result can be repeated. The report should help you decide where to look next on the product.
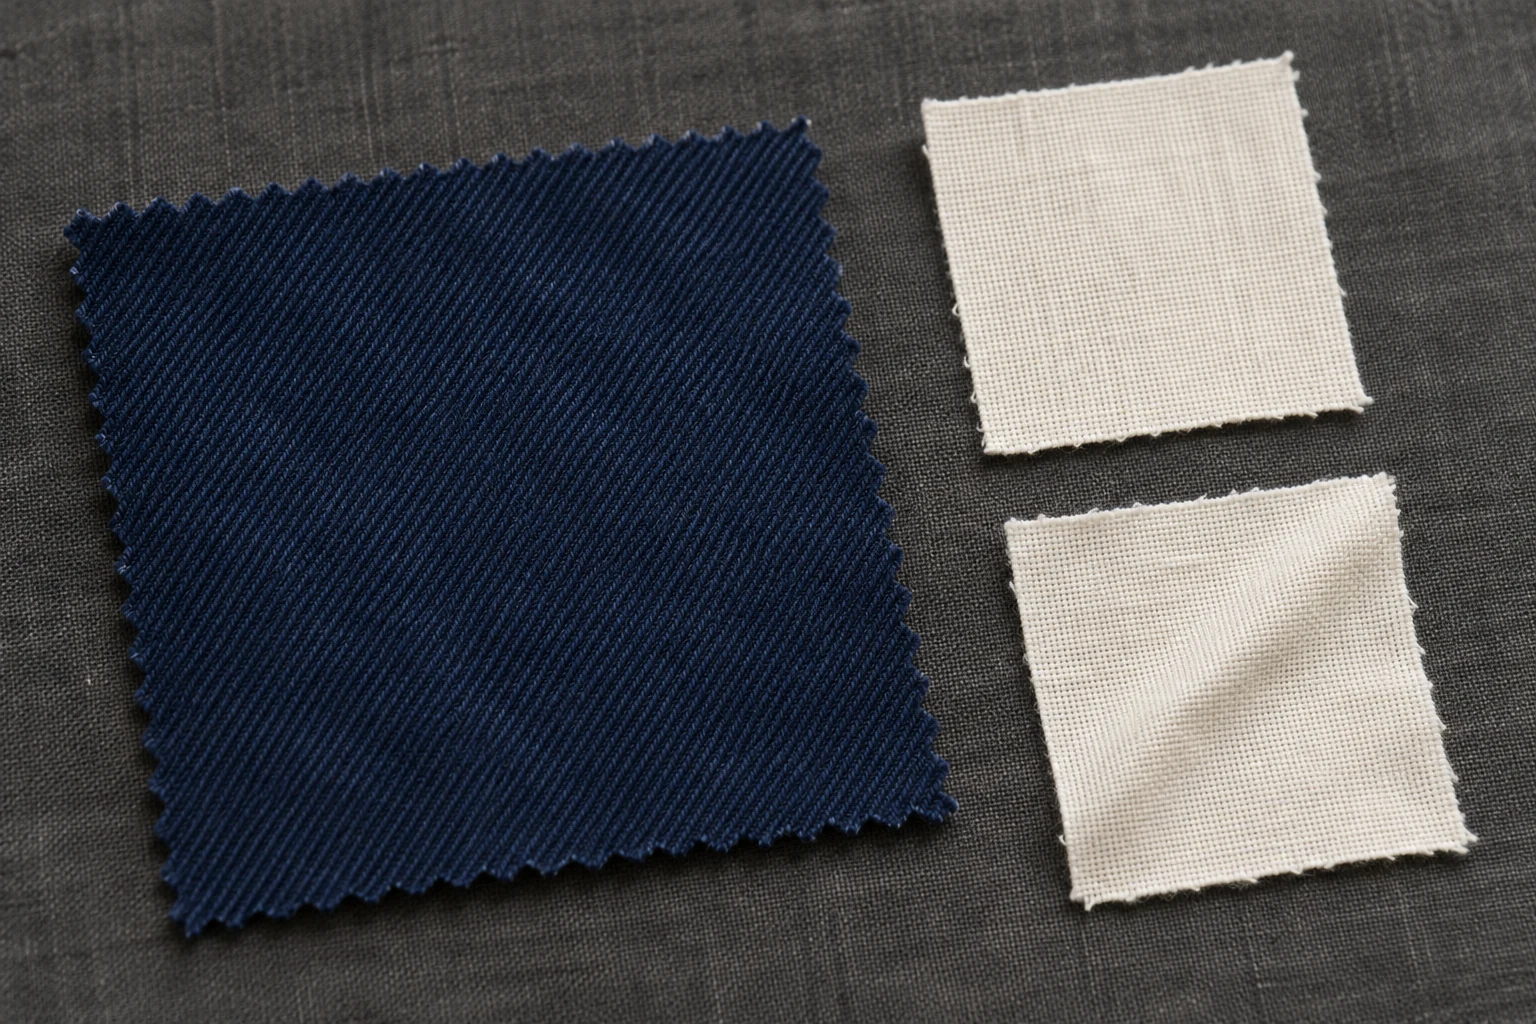
In pigment printing, a binder holds the colour particles on the fabric surface. The result depends on the printing system and on the fabric underneath. Binder distribution, preparation of the fabric and heat fixation suited to the particular system are among the things worth checking. Two samples described as navy pigment prints can therefore behave differently under rubbing.
A useful first comparison is a printed piece and an unprinted piece of the same fabric. If the cloth picks up a similar colour from both, include the base fabric and its previous finishes in the investigation. If the mark appears only on the printed piece, look at the intensity of that print area and at the texture of the fabric. Where the direction of the surface fibres changes under pressure, check the mark on the white cloth separately from the change you see on the fabric itself.
Consider the area covered by the print. Narrow lines and a deep, solid ground create different contact patterns on the same product. A result taken from a broad navy block applies to the area that was selected. A result from small isolated motifs beside a pale ground needs revisiting if the next artwork revision replaces that ground with dark coverage. Note which design revision was tested so the production team can tell when a new sample is needed.
Start with three separate observations. Did colour transfer to the rubbing cloth? Did the printed surface change in appearance? Did a textile fibre or another particle come away? You can record all three on one page. Give each observation its own description. A faint stain may indicate colour transfer. A polished patch or a change in the direction of the nap can appear on the print even when the white cloth shows little colour. A loose fibre is a reason to examine the fabric's wear behaviour separately.
Keep the photographs comparable. Use the same background, light and distance for the rubbing cloths. Save one image showing where the specimen came from and a second showing the mark close up. When a phone changes white balance or exposure between photographs, the cloth next to a dark sample may look different even if the physical marks are similar. Photographs are useful for identifying the specimen and discussing it with another team. Use the physical cloths and the method-based assessment for the acceptance decision.
A quick contact check with the fabrics on your worktable can help you choose the right area to send to a laboratory. Record which surfaces touched, which part of the print you examined and whether the material had already been through care. Pressure, motion and moisture vary in a hand check. Record that observation separately from the controlled grade. The two records can help you choose a more relevant specimen for the next examination.
List the light-coloured surfaces one by one. A jacket may have them around the inner collar, front closure, cuff or sleeve. The exterior of a bag may move against the wearer's clothes. Lined garments can have contact on a surface that disappears once the garment is worn. Fold and close the product before setting up the comparison. Look at the way it moves during use. Fabrics that sit side by side on a cutting table may never rub together. Two parts that look far apart in a photograph may meet every time a bag swings against a hip.
At a seam or fold, a fabric can behave differently from a piece lying flat. Begin with the flat sample and then make a small sewn mock-up of the contact that concerns you. A fold and its seam allowance can concentrate contact along a narrow ridge. The inside of a trouser leg or a shoulder strap creates a different kind of repeated motion. A sewn mock-up helps you identify which surface and print colour deserve a closer look.

A single piece cut from a dark multicolour design may give an incomplete picture. Identify the most intense shades, the colours falling in the contact zone and an unprinted area for comparison. When a motif is much smaller than the rubbing area, ask the lab whether it can isolate an individual colour with the chosen method. If you request a test card, use the intended fabric and make the colour patches large enough for the assessment. Record how the patches relate to the way the actual design will be printed.
Suppose the dry rubbing cloth from a first check looks clean and a visible navy mark appears on the damp one. The design team likes the shade and the hand of the outer fabric. The pale collar facing is also part of the design. Since the collar moves at the neck and may sometimes become damp, take the decision beyond the flat swatch. Identify the tested patch of navy and put the actual facing material into the sample set. Ask whether the difference seen in the initial check also appears in the controlled results.
Verify exactly where the tested fabric was cut. A result from a lightly printed edge may be a poor match for the deep part of the design that will sit along the collar fold. If the two areas look different, mark them on a sample drawing. Save the actual facing alongside that drawing. A shift in the shade or texture of the facing can make a slight mark easier or harder to see. Another white cloth from the same collection may be unsuitable as a stand-in for this construction.
There are two practical routes to explore. The print team can work on the transfer while keeping the proposed fabric and artwork. The design team can also examine whether a change to the facing or its position alters the point of contact. With the first route, check whether the revision also affects colour and hand. With the second, try the revised collar in the positions it will take when the jacket is open, closed and moving. In both cases, retain a sample that lets the team see what actually changed.
For a later lot, match the specimens, care history and test method before interpreting any difference. If the colourway includes several facings, use the contact risk to decide which combinations need their own checks.
Identify what the first sample represents. Check whether the fabric comes from the production lot, whether the selected area reflects the intended colour coverage and whether the sample had already been through care. Once those points are clear, set up two comparable trials on the same fabric with the supplier. Keep the original conditions as a reference. In the second trial, change one condition whose effect the team wants to understand.
Changing the fabric, the colour area and the fixing conditions together leaves the reason for any improvement uncertain. Compare the new samples for colour and hand as well as transfer. A reduction in the mark has to be weighed against the way the fabric bends, feels and looks in the garment. Recheck the dry result too. Include the actual pale fabric that will touch the print when reviewing the sewn sample. The white rubbing cloth provides a consistent assessment between samples. The facing helps the team assess the product construction.
Transfer during rubbing and staining during laundering answer different questions. Rubbing involves contact and mechanical movement. Laundering brings water, the care process and other components of the product into play. Set out the intended care conditions and decide which properties need separate evaluation. A change in the colour of the print, staining of a neighbouring material and a rubbing grade can be entered as separate observations.
Where the dark surface will still rub against a pale component after care, compare rubbing results before and after the relevant treatment. Keep the specimen description and the chosen print area consistent. Date the records and distinguish the untreated sample from the one that went through care. If a similar issue arises in a future collection, the team can then see how each grade was obtained.
Also record changes to the shape of the garment. If the shell or lining shrinks, the contact line can move. The facing may touch a wider area of print, or an extra fold may push it towards a different part of the collar. Treat this as a change in construction that may justify a further check. It supplies information alongside the dry and wet grades.
Keep the fabric identifier, artwork revision, test area, dry and wet grades and relevant care history together. Include the facing, binding or other material in contact with the print. Agree the acceptance criteria for the specific product and its intended use before reviewing the samples. Alongside the grades, record the decision and the conditions under which it applies. This helps when another lot arrives or a designer changes the print.
There are several productive outcomes. The team may accept the print for the specified materials and conditions. It may request another trial with a defined change. It may revise the areas of contact and review a new sewn sample. The important part is establishing what was approved. A result for an intense navy area and a pale facing becomes useful when everyone can tie it back to the same fabric, design and product.
Send the fabric composition, artwork, pale contact materials and intended use with your sample request. This puts shade, hand and rubbing results in the same review. Explore fabric printing options.
phone: +90 212 576 5250
fax: +90 212 493 0336
email: info@unlutransfer.com
Yenidoğan Mah. Eser Sok. No: 6-8
Bayrampaşa, 34030,
Istanbul / Turkey
TR 9150171175
Bayrampaşa Tax Office